I recently had to review the complete process of designing a catamaran bow tube with MSC (Marine Safety Center) at the USCG.
The boat in question had a Gold Coast style timber space frame bow tube that had failed.
Usually the GC units are pinned to the hulls to allow movement, but in this case it was bonded, and(or) bolted to the deck. It had cracked, water got in, and it began to rot.
As everybody at MSC is new now, the design assumptions that we have used in the past are no longer valid. In the past I used an aluminum tube section and A frame wires that matched the mast section and shroud diameter. That sounded like voodoo to the new MSC. I had to come up with complete calculations.
I assumed the span for the Eulers column bucking calculations to be between the forestay and the hull; half the overall length.
MSC disagreed. I had to use the whole length and assume no support. I argued that the A frame restrained upward buckling, and the forestay restrained it from downward buckling. I finally convinced them. I also noted that as far as I know, not one of my COI cats using my stock bow tube arrangement has ever failed. They were barely impressed.
I was surprised how close the calcs were though. And again, there had never been a failure. I expected generous safety factors.
I realized that several other things help us out.
If the tube was to deflect, it would have to pull the hulls inward. The hulls have huge section properties. The tube is restrained by that.
The load that MSC used was the breaking strength of the forestay. Load cell studies that Roger Hatfield did showed that the forestay is loaded less than the shrouds are. Typically they are the same diameter.
The tube itself resists bending some.
And finally, the weight of the tube, fittings and wires helps resist the forestay load. Not much but some.
All these compensating factors are hard to calculate easily however. But the evidence is that none have failed.
Then I remembered that there was a bow tube on one of my cats that fails regularly, though so far, not catastrophically. It was designed back in the hand drawing days and has a welded moment connection. The welds give out.
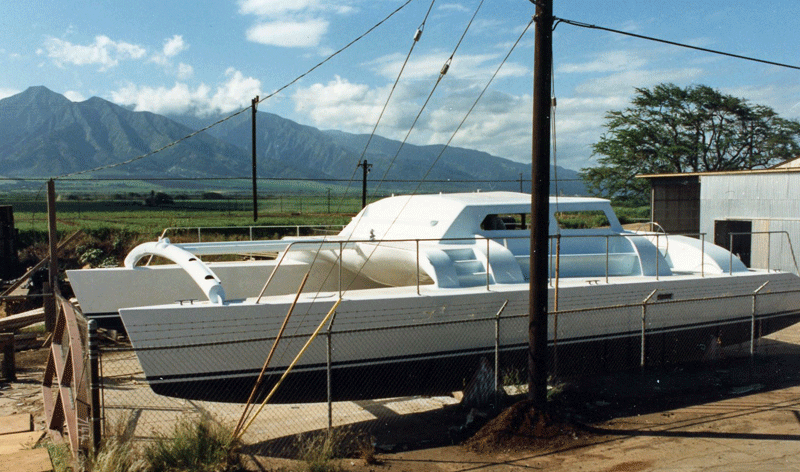
It might have still worked except for one thing. The builder freestyled the main beam.
Before designing it, I had just come back from my first MACM composites conference where Dr. Reichard had presented a paper on the structural design of the catamaran Fury. I had used that information to design a main beam that resisted twisting and polar loads also. The fairing I designed flowed into the sides of the hull. It would have been a strong and stiff moment connection.
The builder had heard that Fleury had broken up and he assumed it was the same boat. He told everyone that my design was thus flawed.
A guy wandering by the shop who had seen a Crowther cat in Australia a decade earlier was chosen to design the main beam. It had no twisting nor polar load resistance. So the bows were able to move way too much. And they keep welding it, to this day I assume.
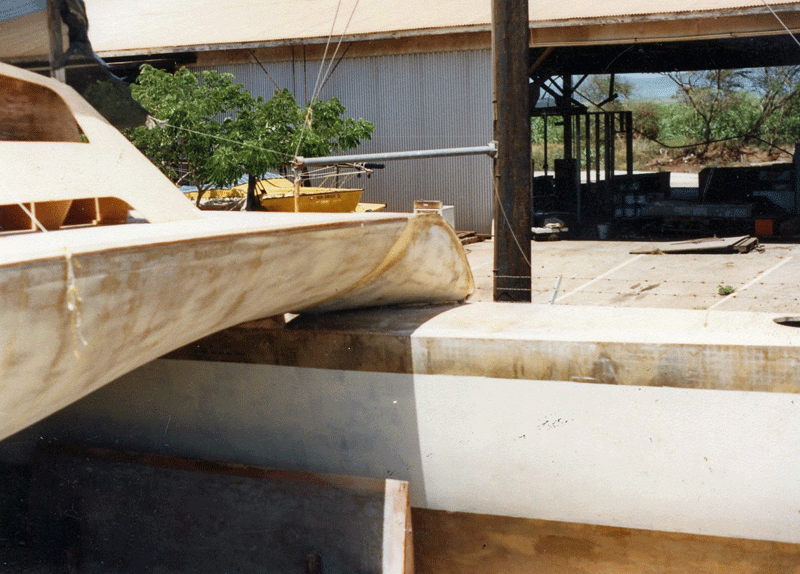
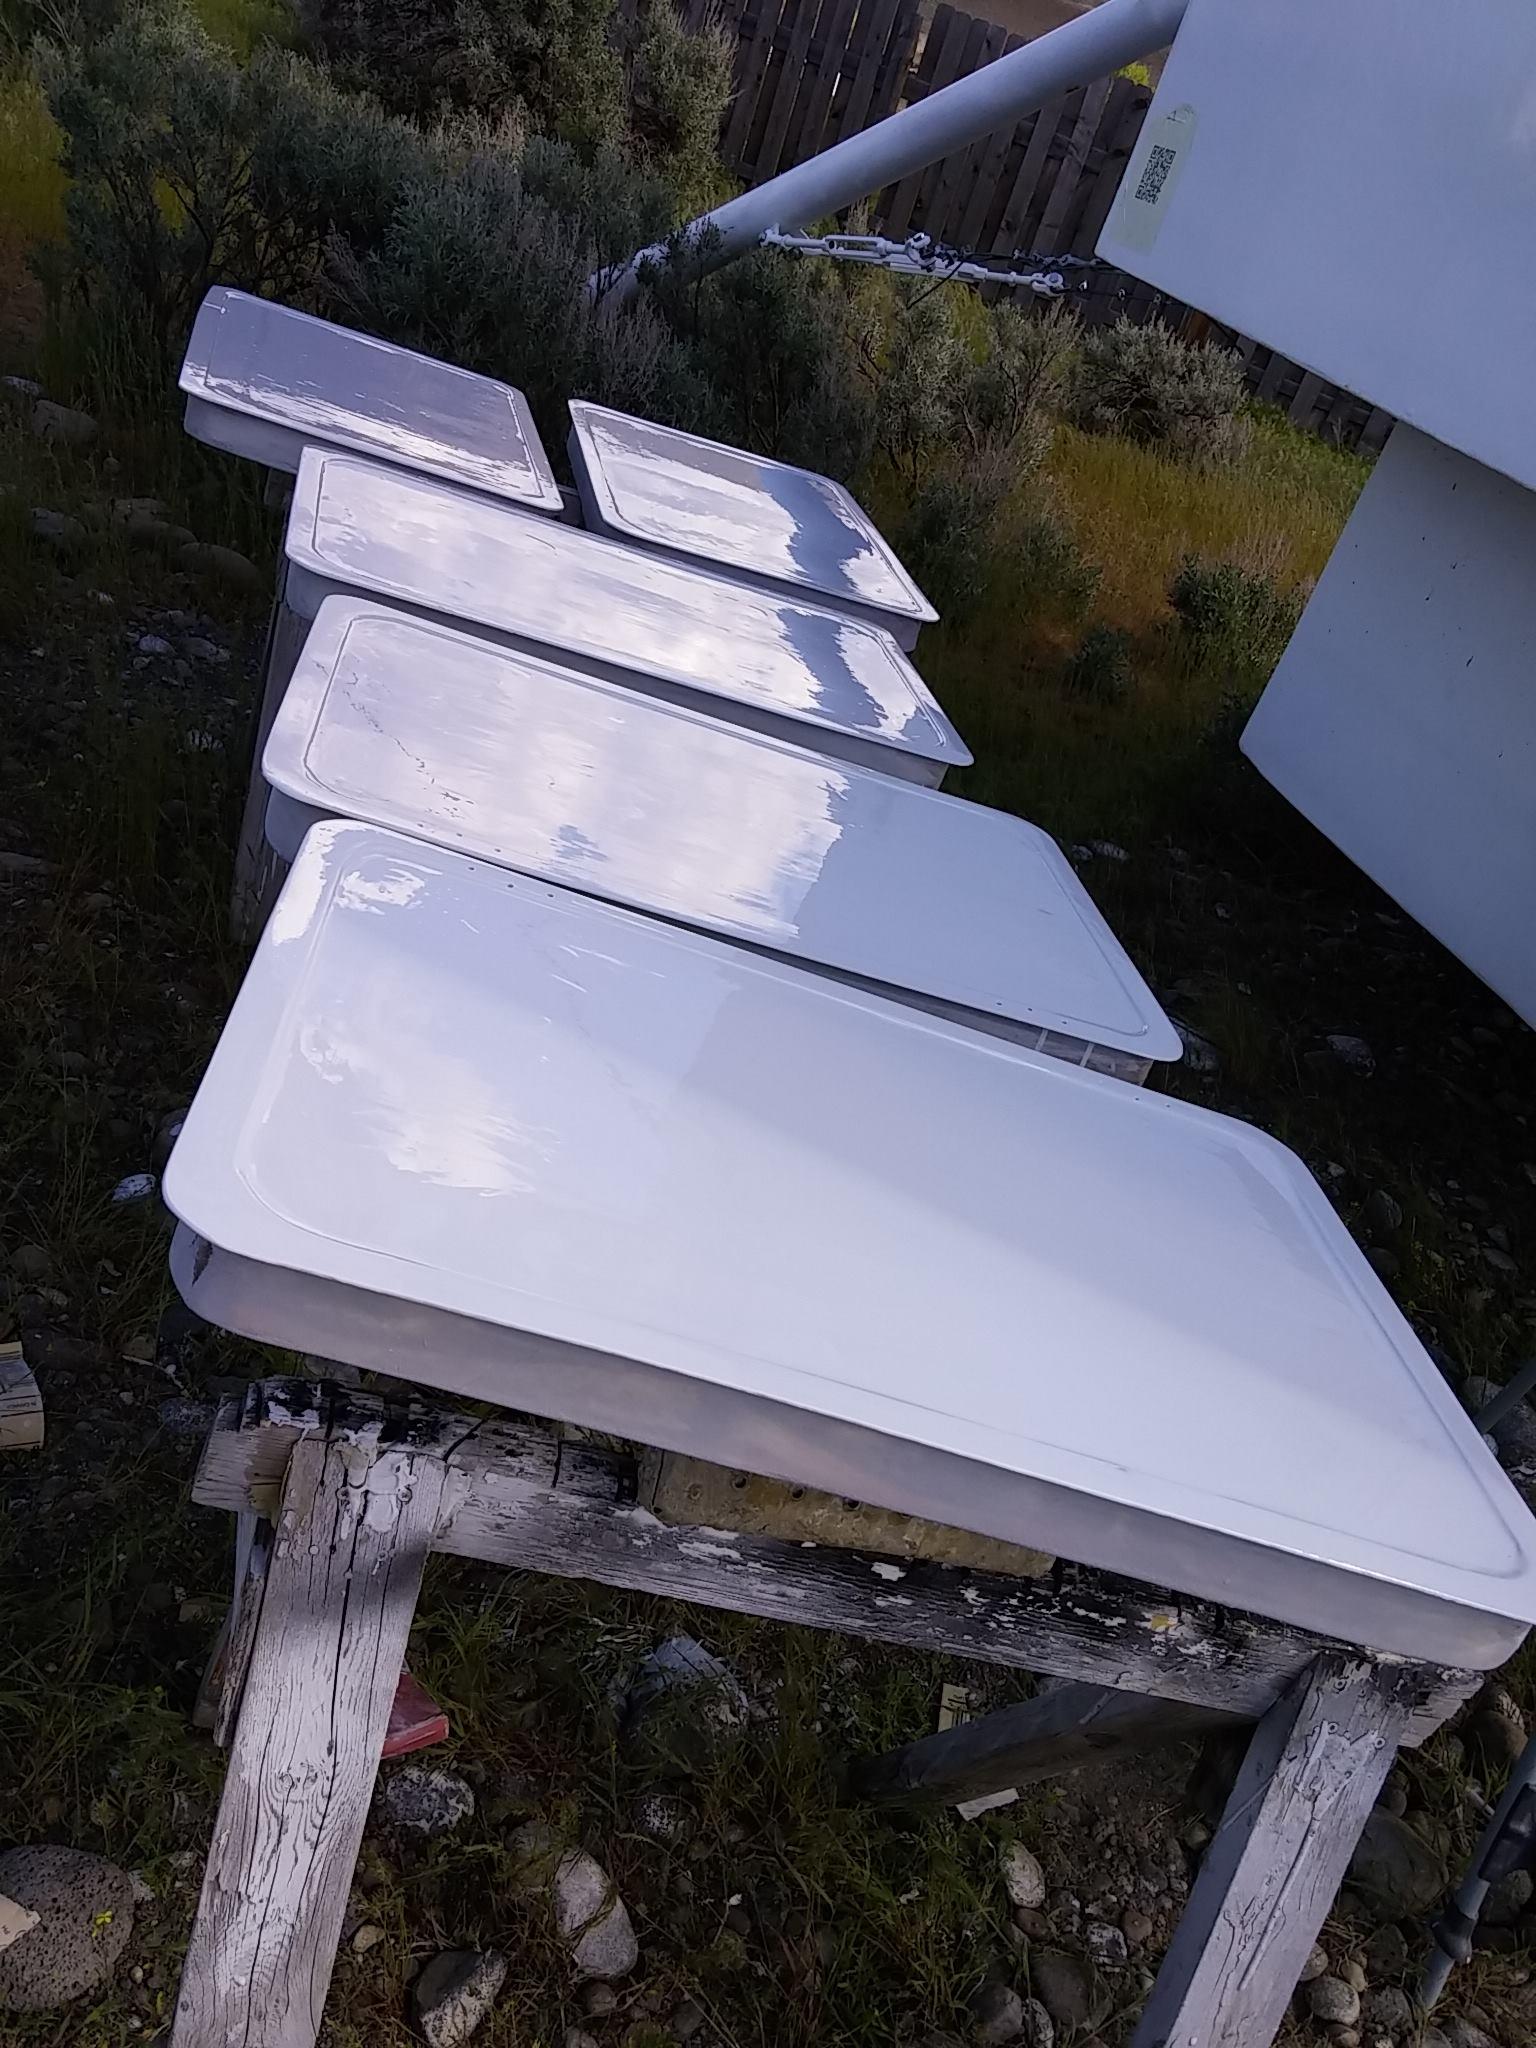
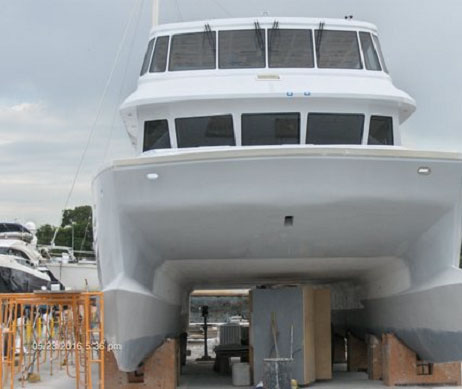
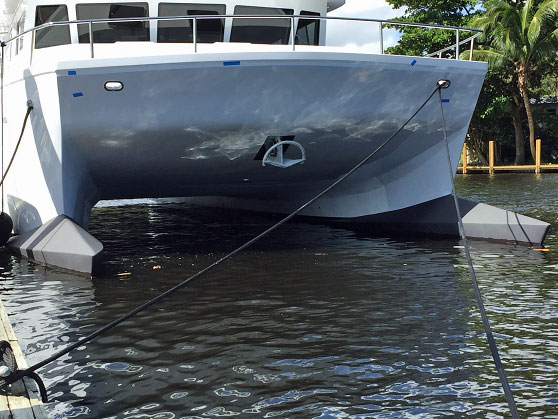
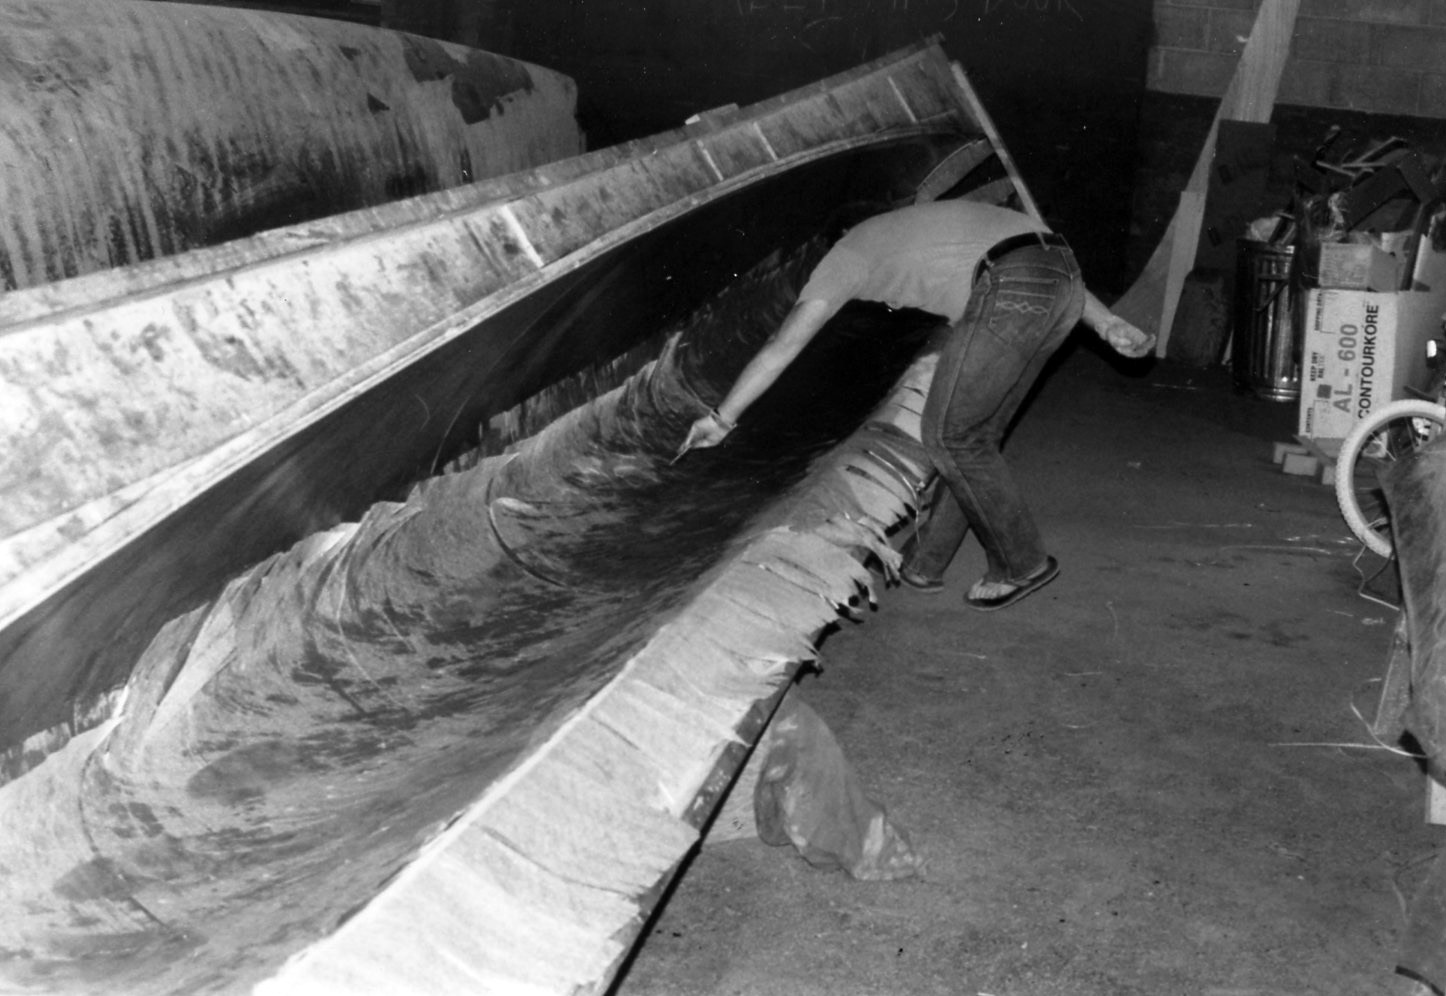
Notice in the photos that the fairing looks like it goes to the far side of the hull in one picture. In the other one can see it lands on the middle of the deck. With no bulkhead under it.
Moral; follow the plans. And I had better make a mega spreadsheet for future submittals. And we need load cell data.