The venerable 23′ camping trimaran got a carbon/plywood crossbeam.
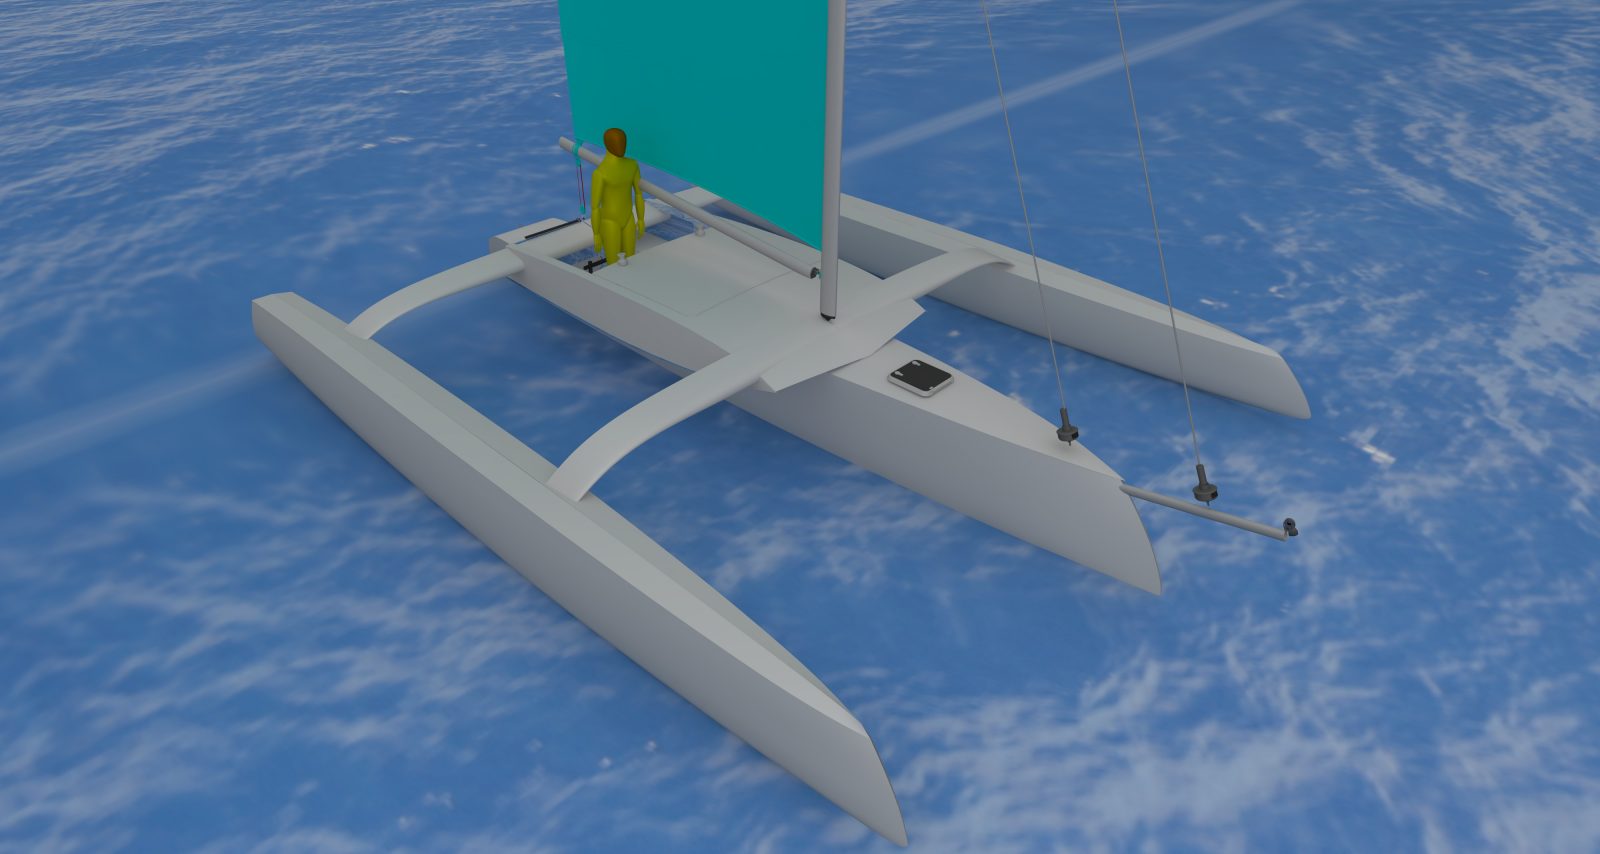
The venerable 23′ camping trimaran got a carbon/plywood crossbeam.
Triaxial roving has had the same makup ever since I first heard about it. The 0 degree has the same weight as the combined weight of the +- 45s.
I have a 25′ daycharter cat being built in Seattle. The sample testing done by Gougeons gave very low results. And the burn test reveled that it only had 20% 0 degree fiber. No wonder the low numbers.
Orca has two different 20 oz. triaxial spec sheets apparently. Be very careful which product you get.
The one that I am used to has 354 gsm for the 0 degree and 200 gsm for each of the +-45s.
The other one has a 0 degree of only 142 gsm and +-45s of 292 gsm. each. That is clearly an inferior product but it is still called 20 oz. triaxial. Beware. First the bad one, then below, the good 20 oz. triaxial. I wonder who thought skimping on the 0 degrees would be smart?
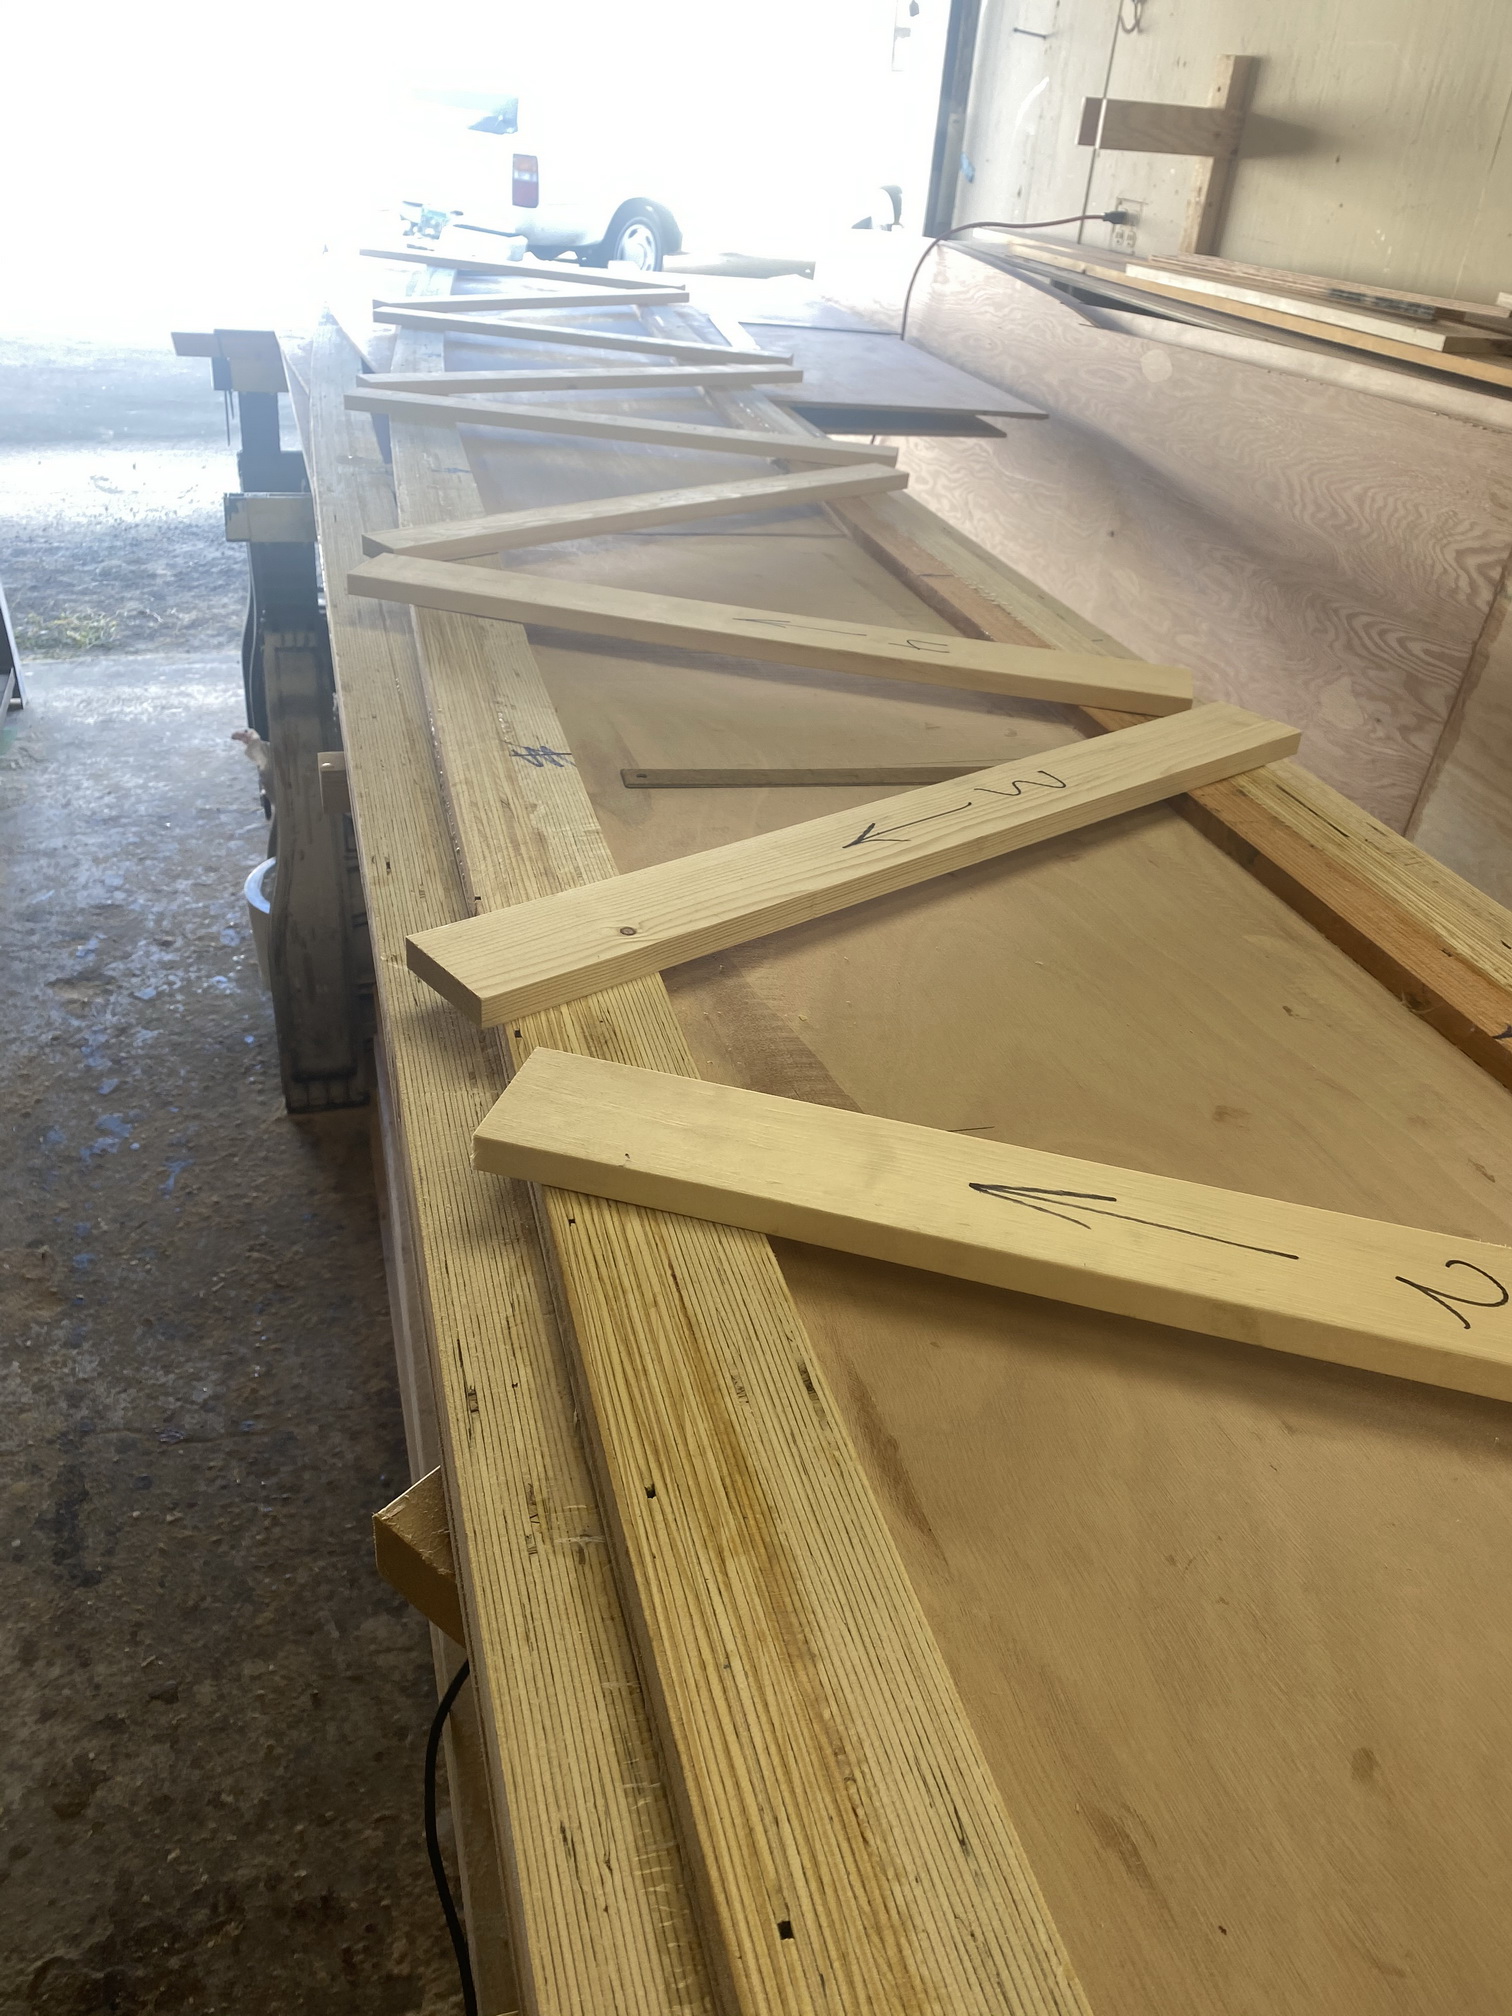
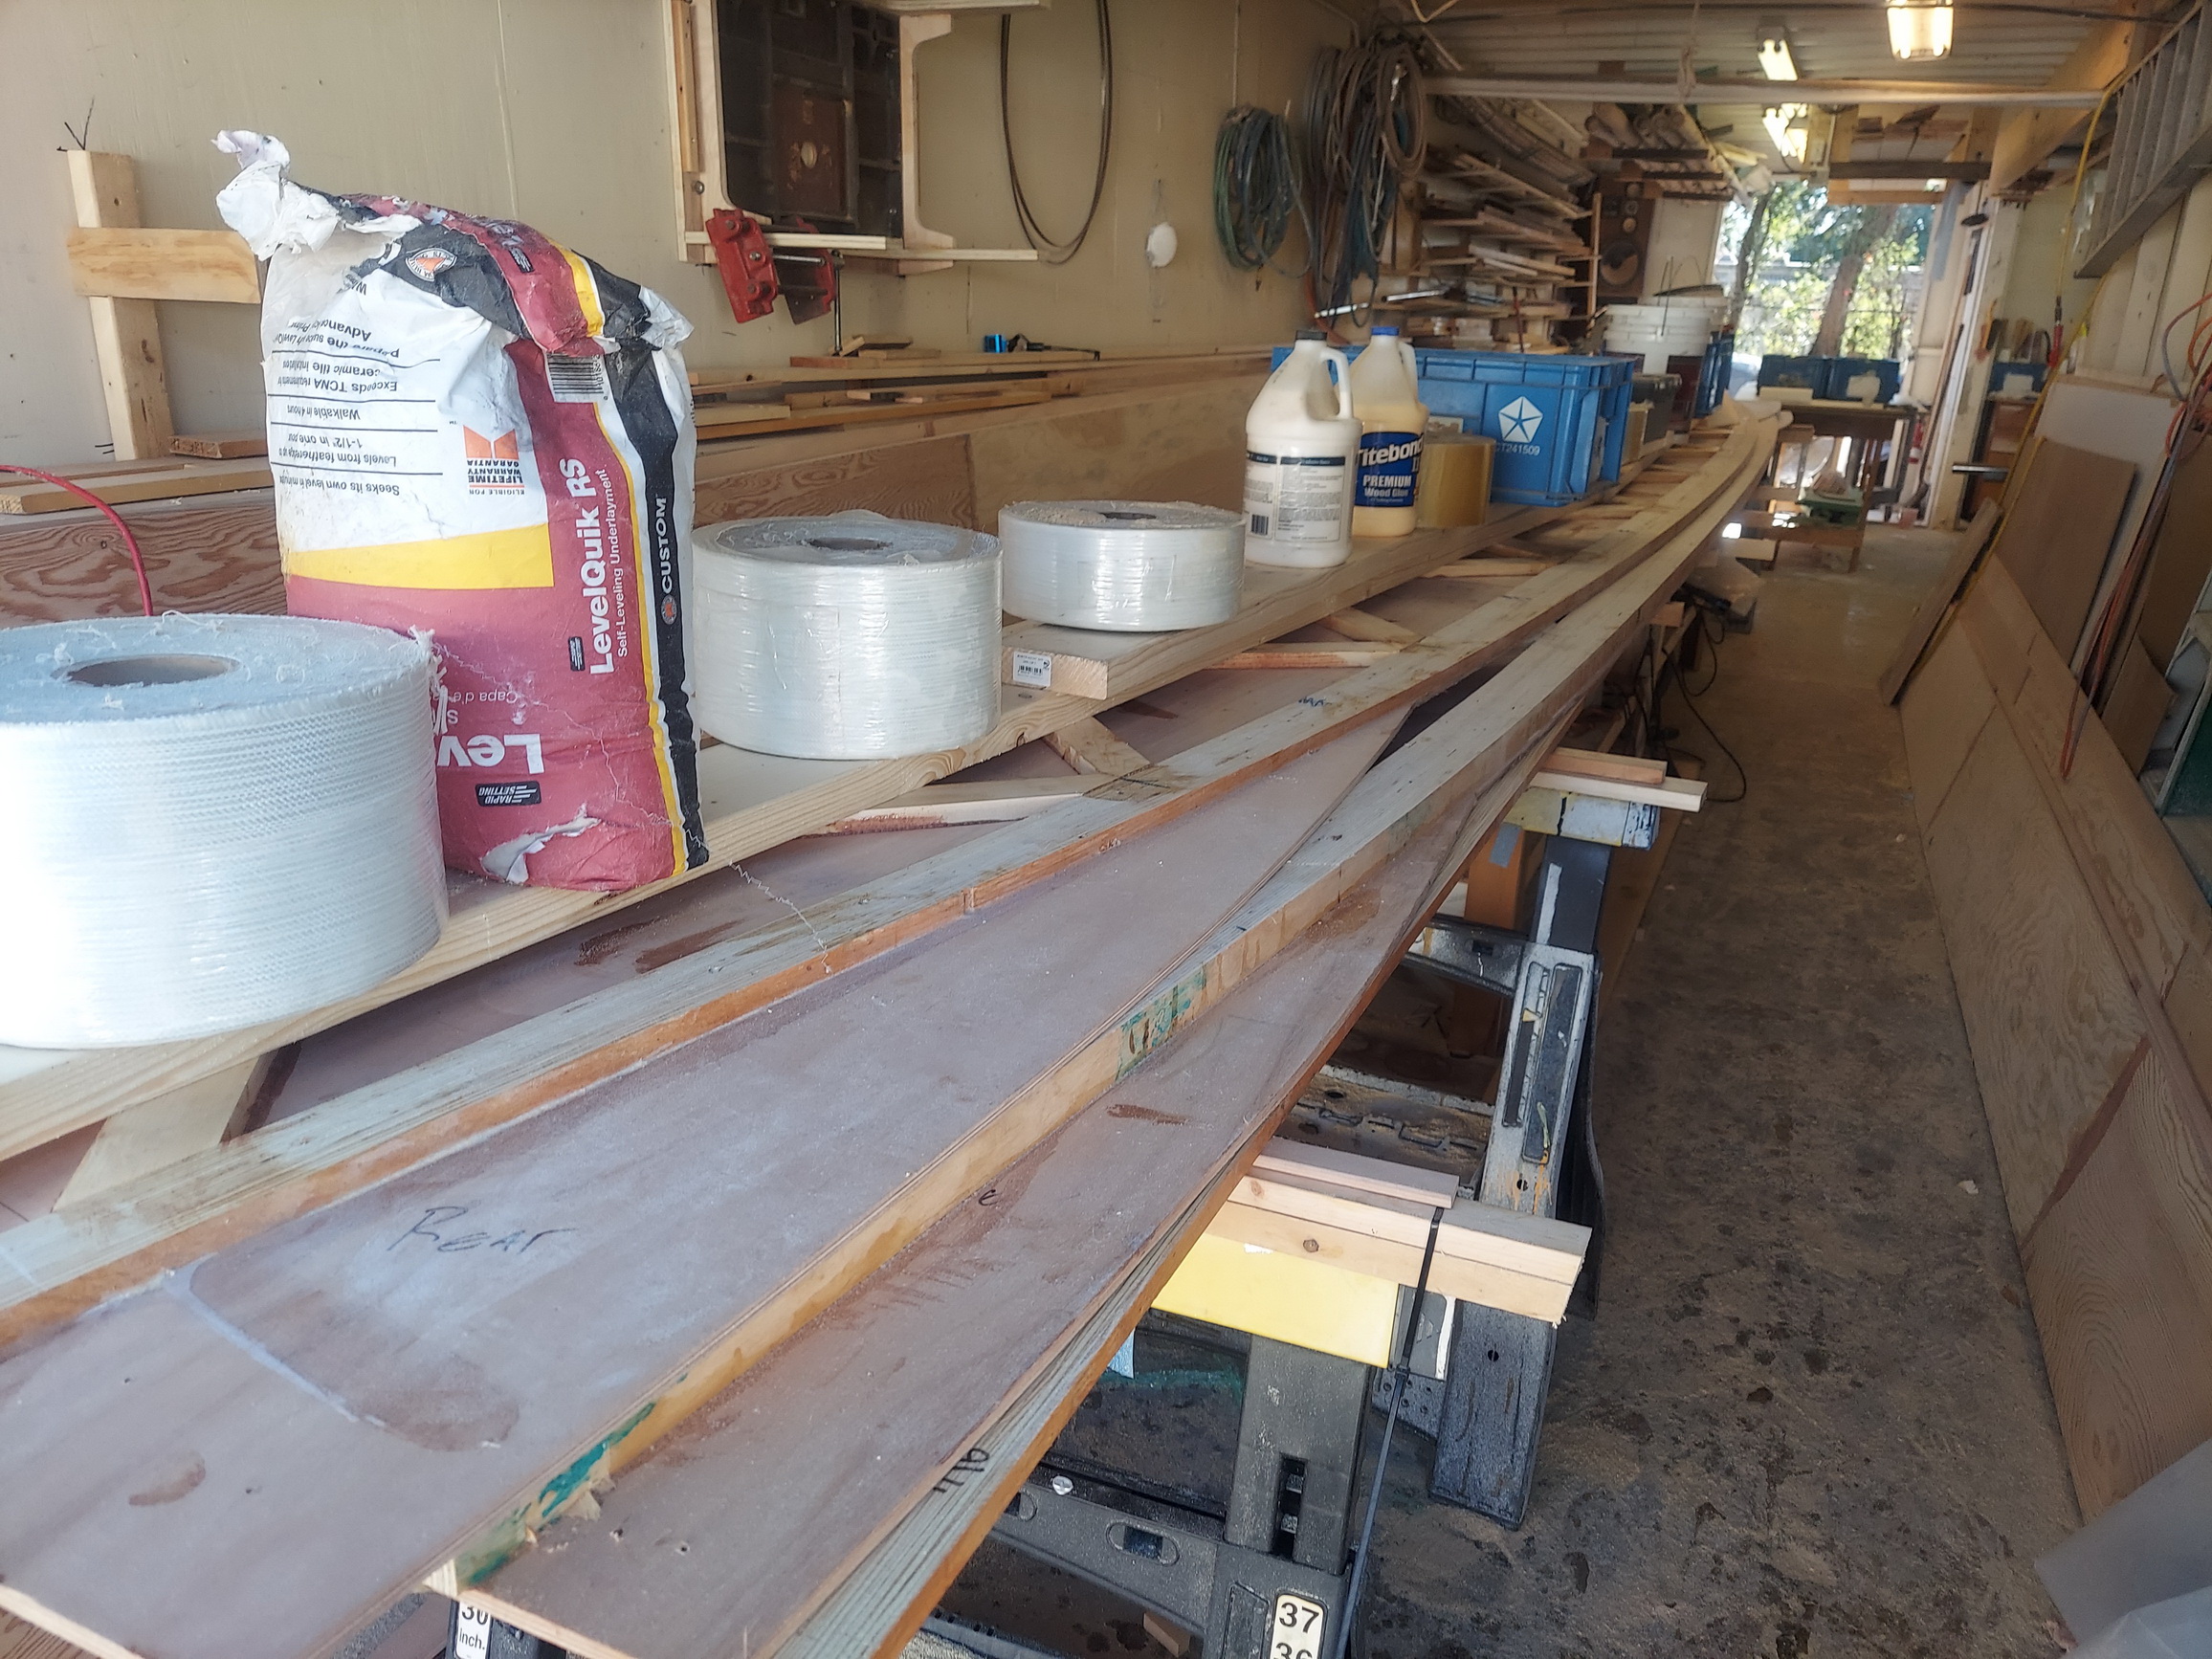
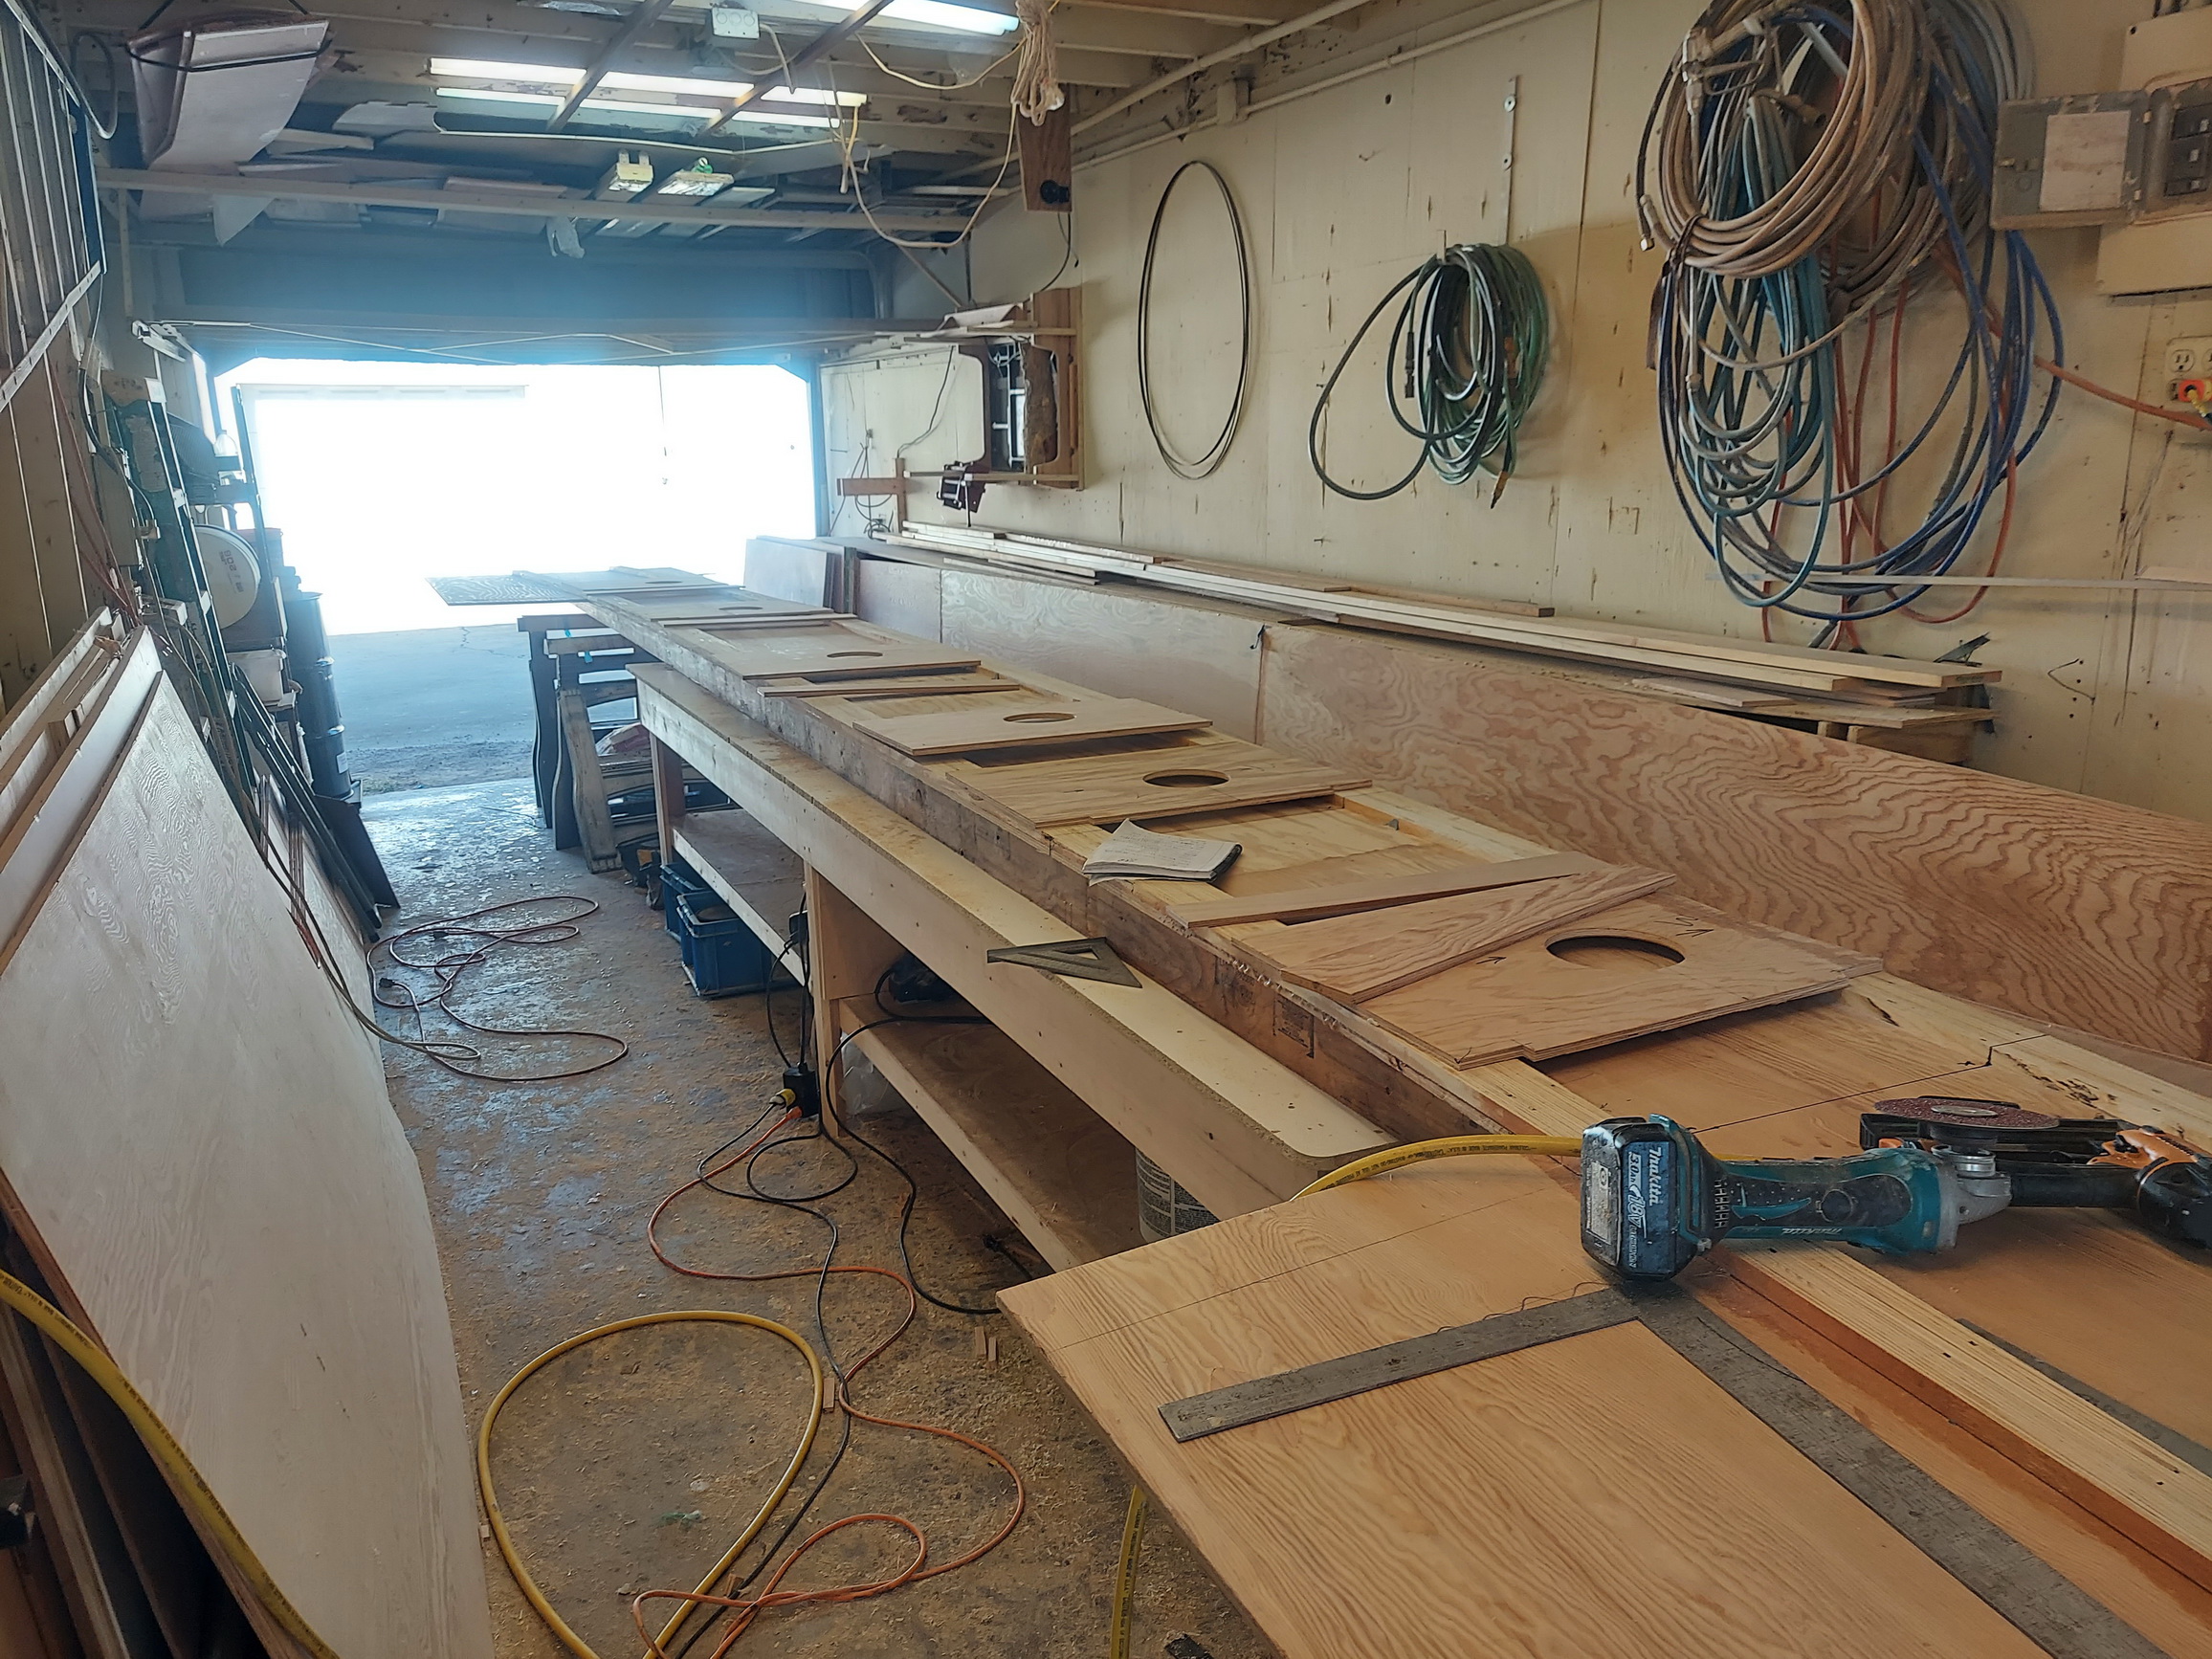
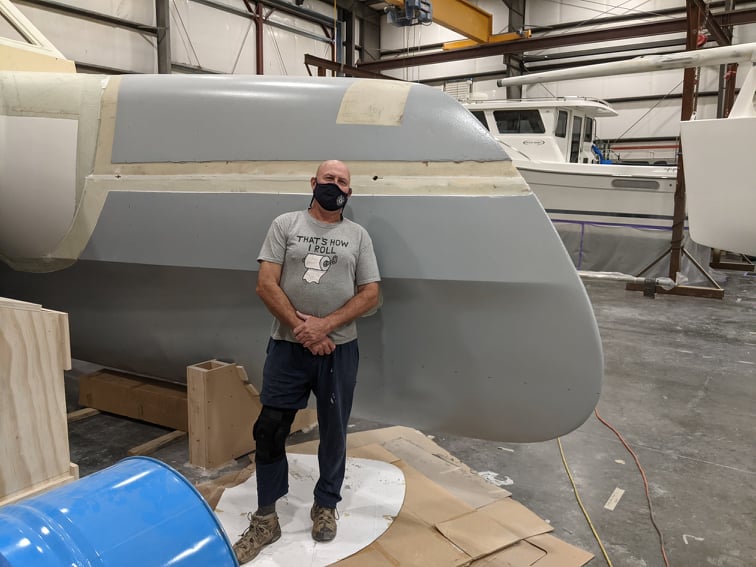
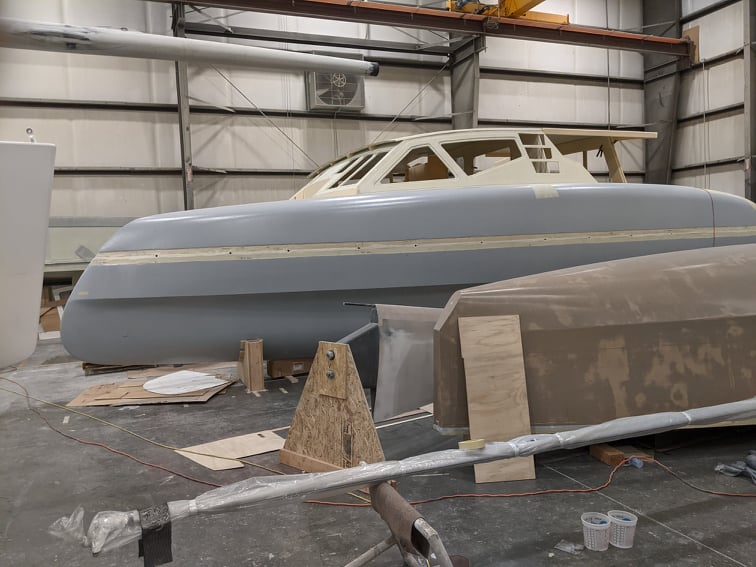
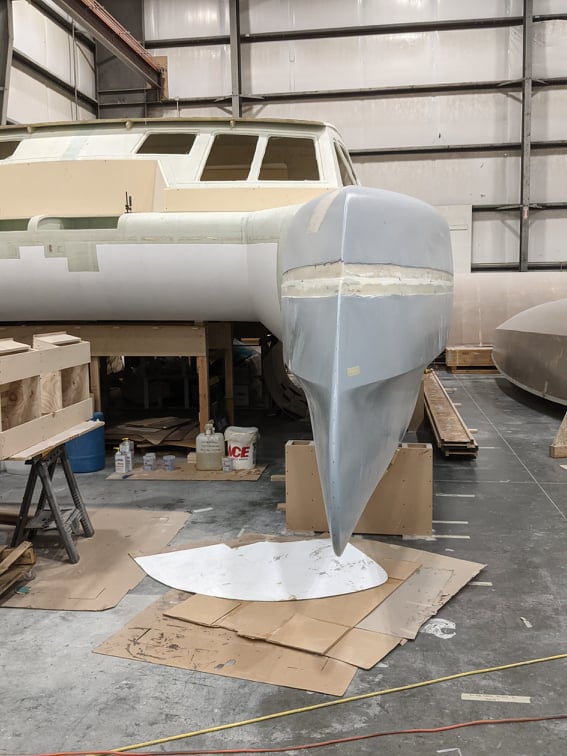
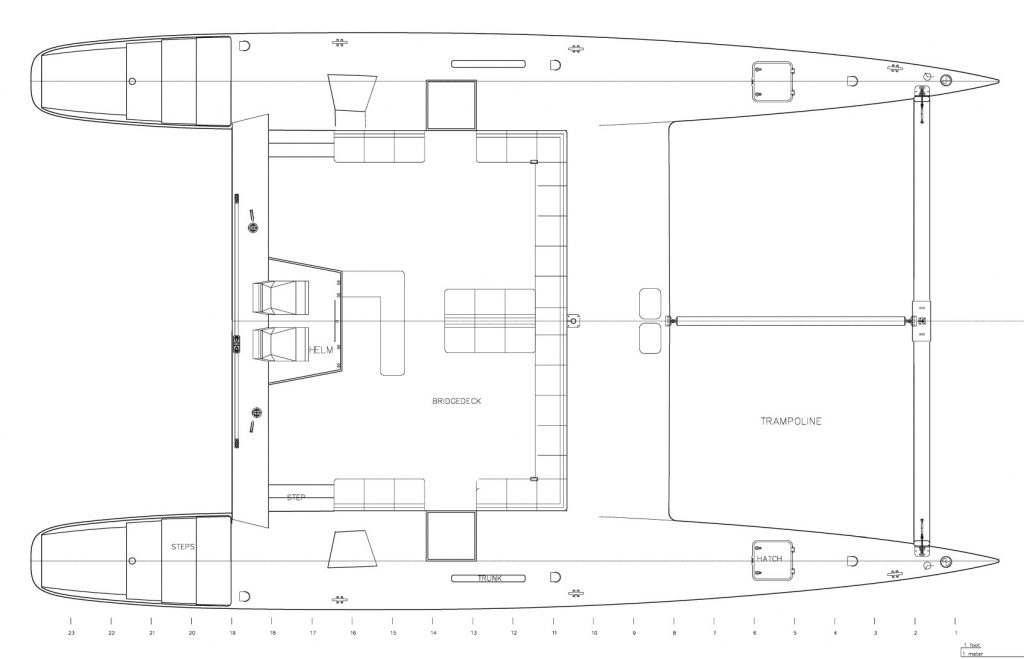
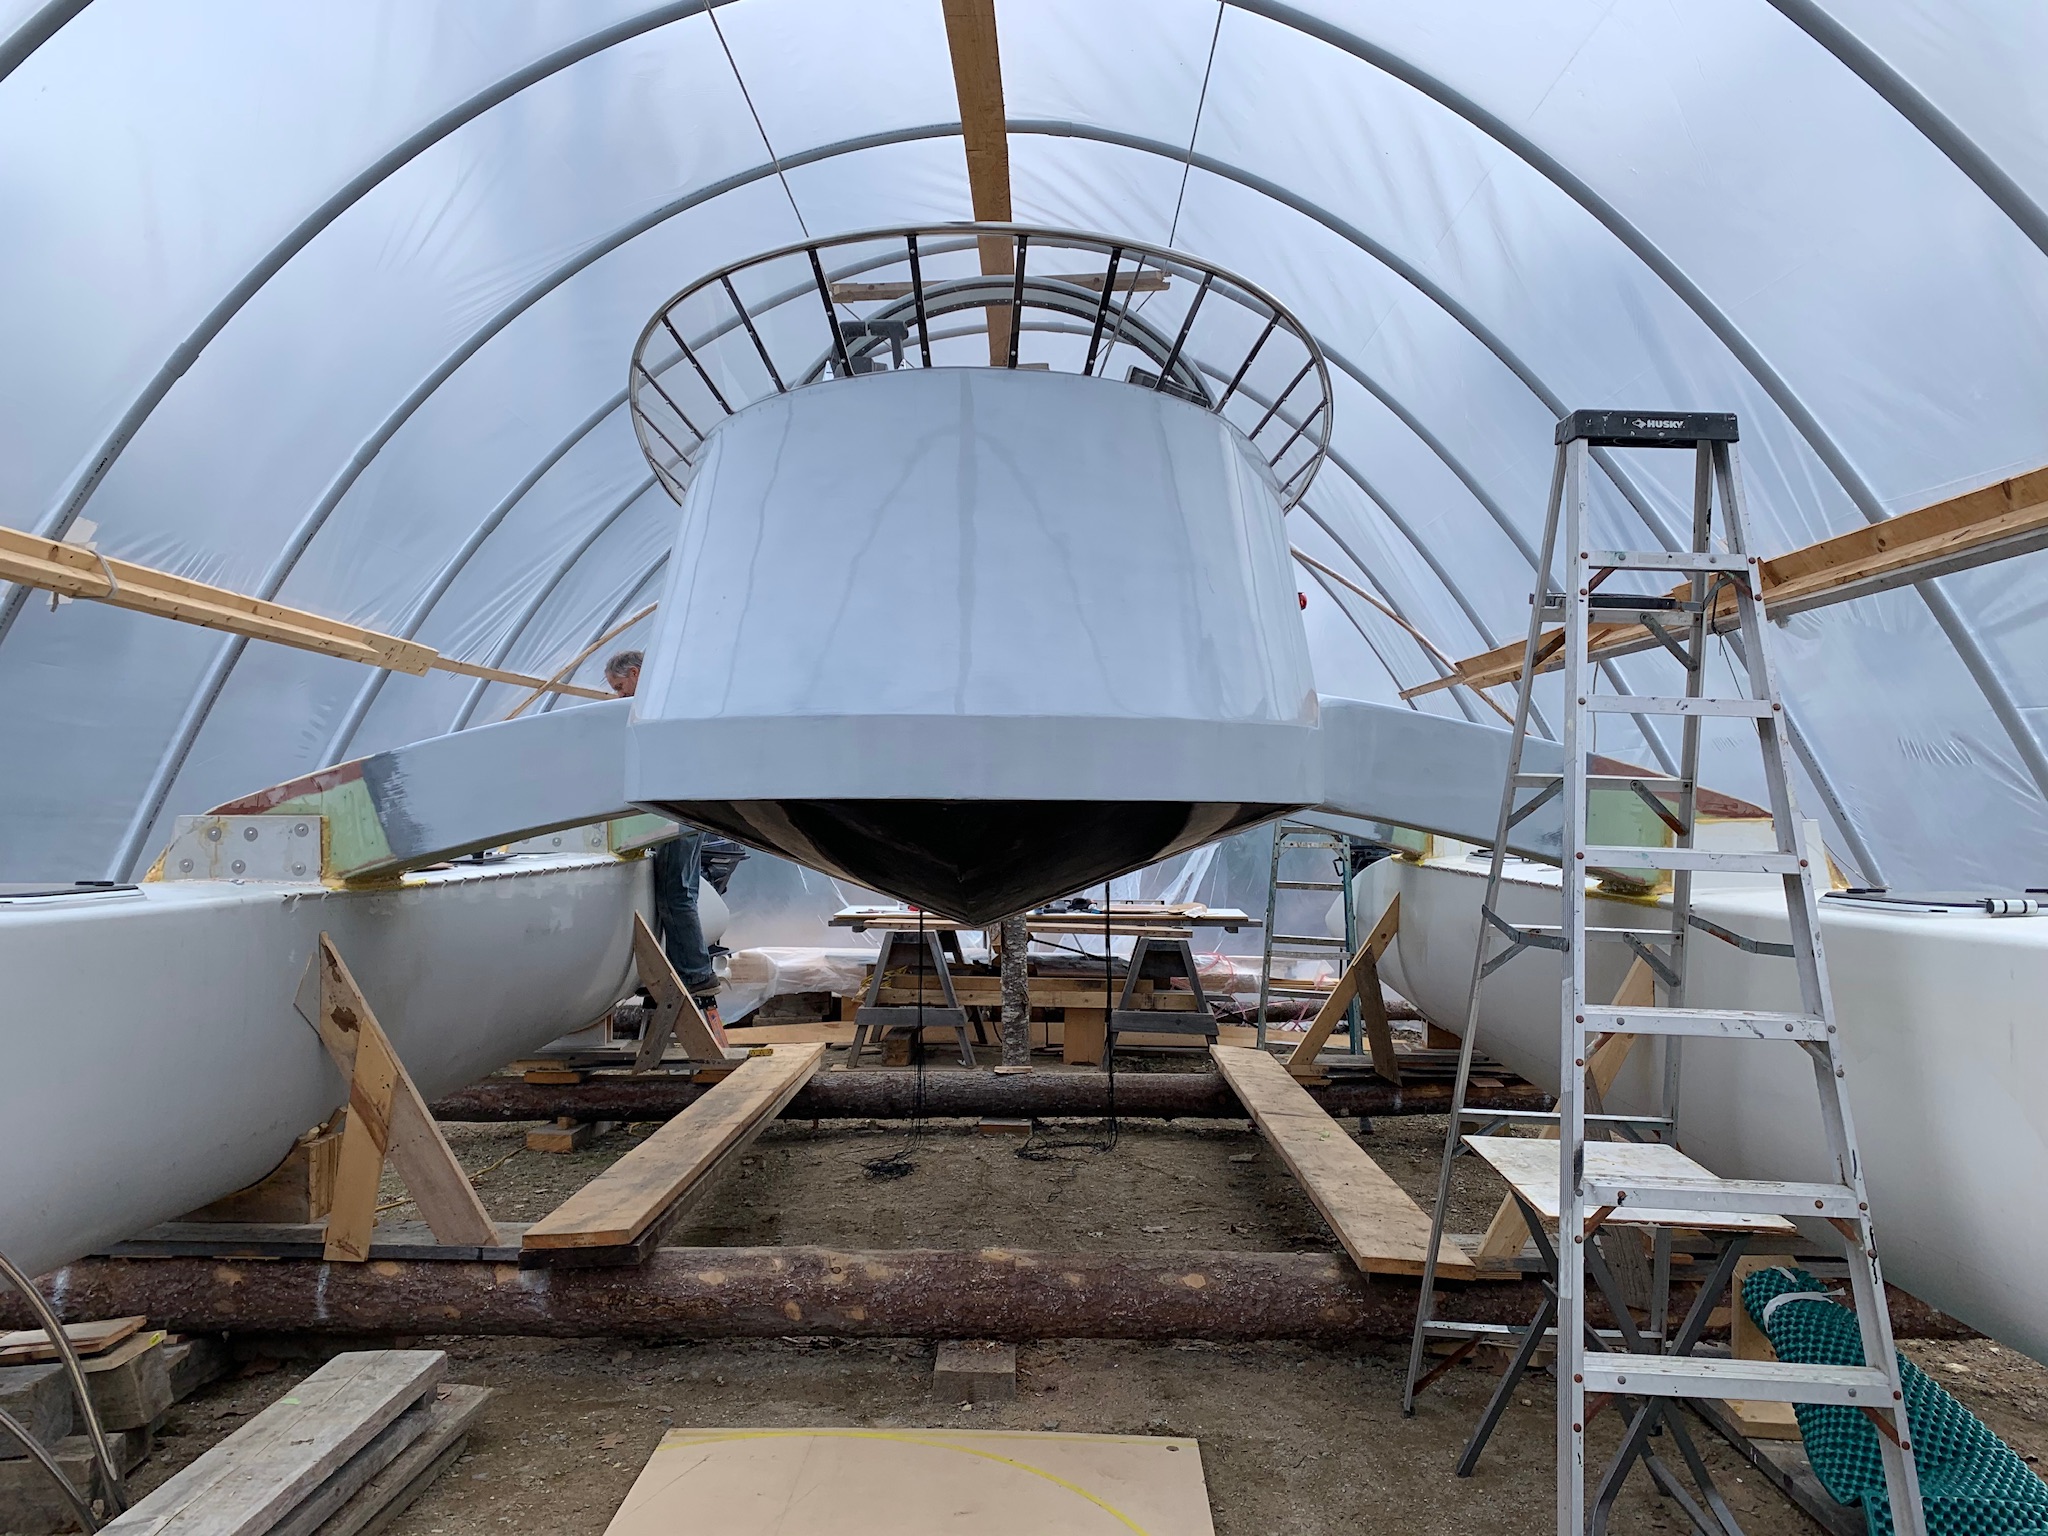
Finished up and sent off to Buffalo NY, one 48×28 day charter catamaran. About 14 months with a crew of three plus an occasional fourth. Here are some pix – some text and vids to follow. Three sets of images, the crossbeams, the daggerboards and trunks, and the hulls.
heres a little video of turning over a hull: https://youtube.com/shorts/sbAoR5XPQ_g?feature=share
These sealable mattress sized vacuum bags work great. You can put parts as large as a mattress in them, run the vacuum for a couple of minutes and seal it. The vacuum was still intact the next day. Unlike the Ziplock Spacebags.
Brand: Homie3.8 out of 5 stars 1,053 ratings
| List Price: | $35.99$35.99 Details |
| Price: | $23.99$23.99 Get Fast, Free Shipping with Amazon Prime & FREE Returns |
| You Save: | $12.00$12.00 (33%) |
Get $60 off instantly: Pay $0.00 upon approval for the Amazon Store Card.
| Size | Queen/Full/Full-XL |
| Material | Plastic |
| Brand | Homie |
| Closure Type | Zipper |
| Fabric Type | 100%, 5 Mil Thick Plastic |
A slightly stretched version of the 37′ cat has been updated. It is being owner built at Betts’s Boatyard in Anacortes, WA. Foam/glass.
I just had a phonecom and visit from Ed Ives of Pure
Watercraft. They are about to release a 50 hp electric motor system with a Tesla type battery. https://www.purewatercraft.com/
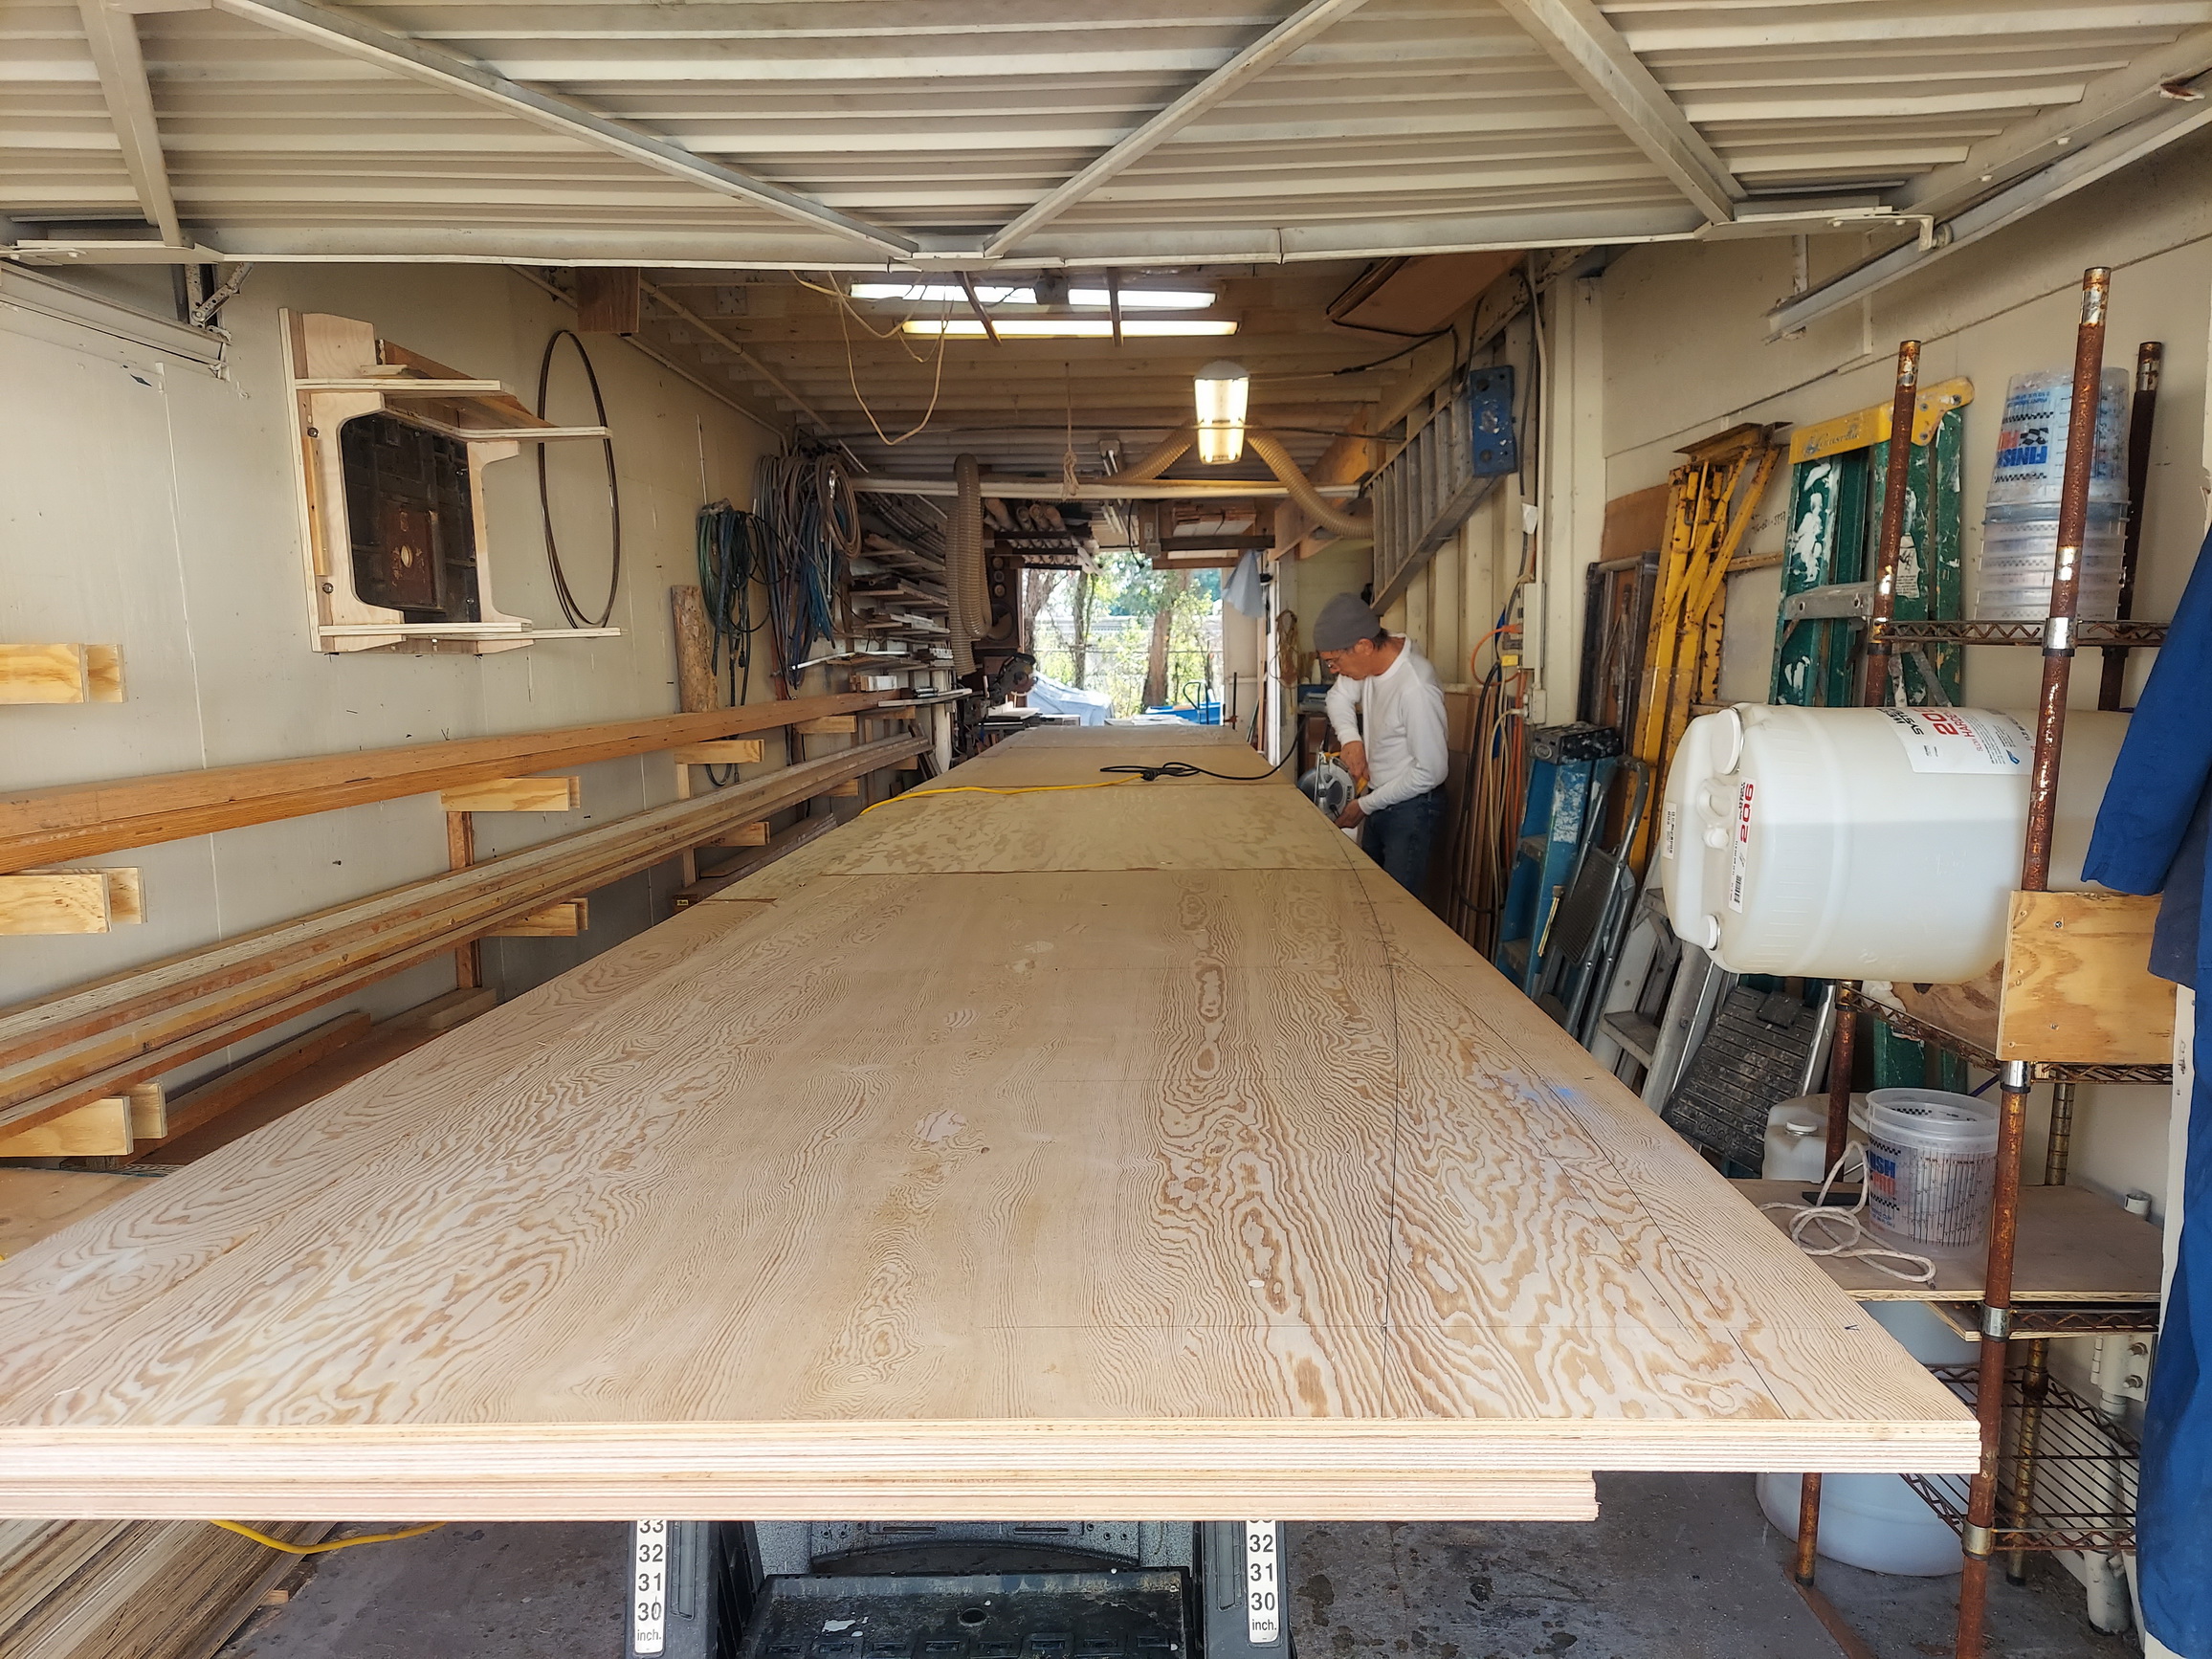
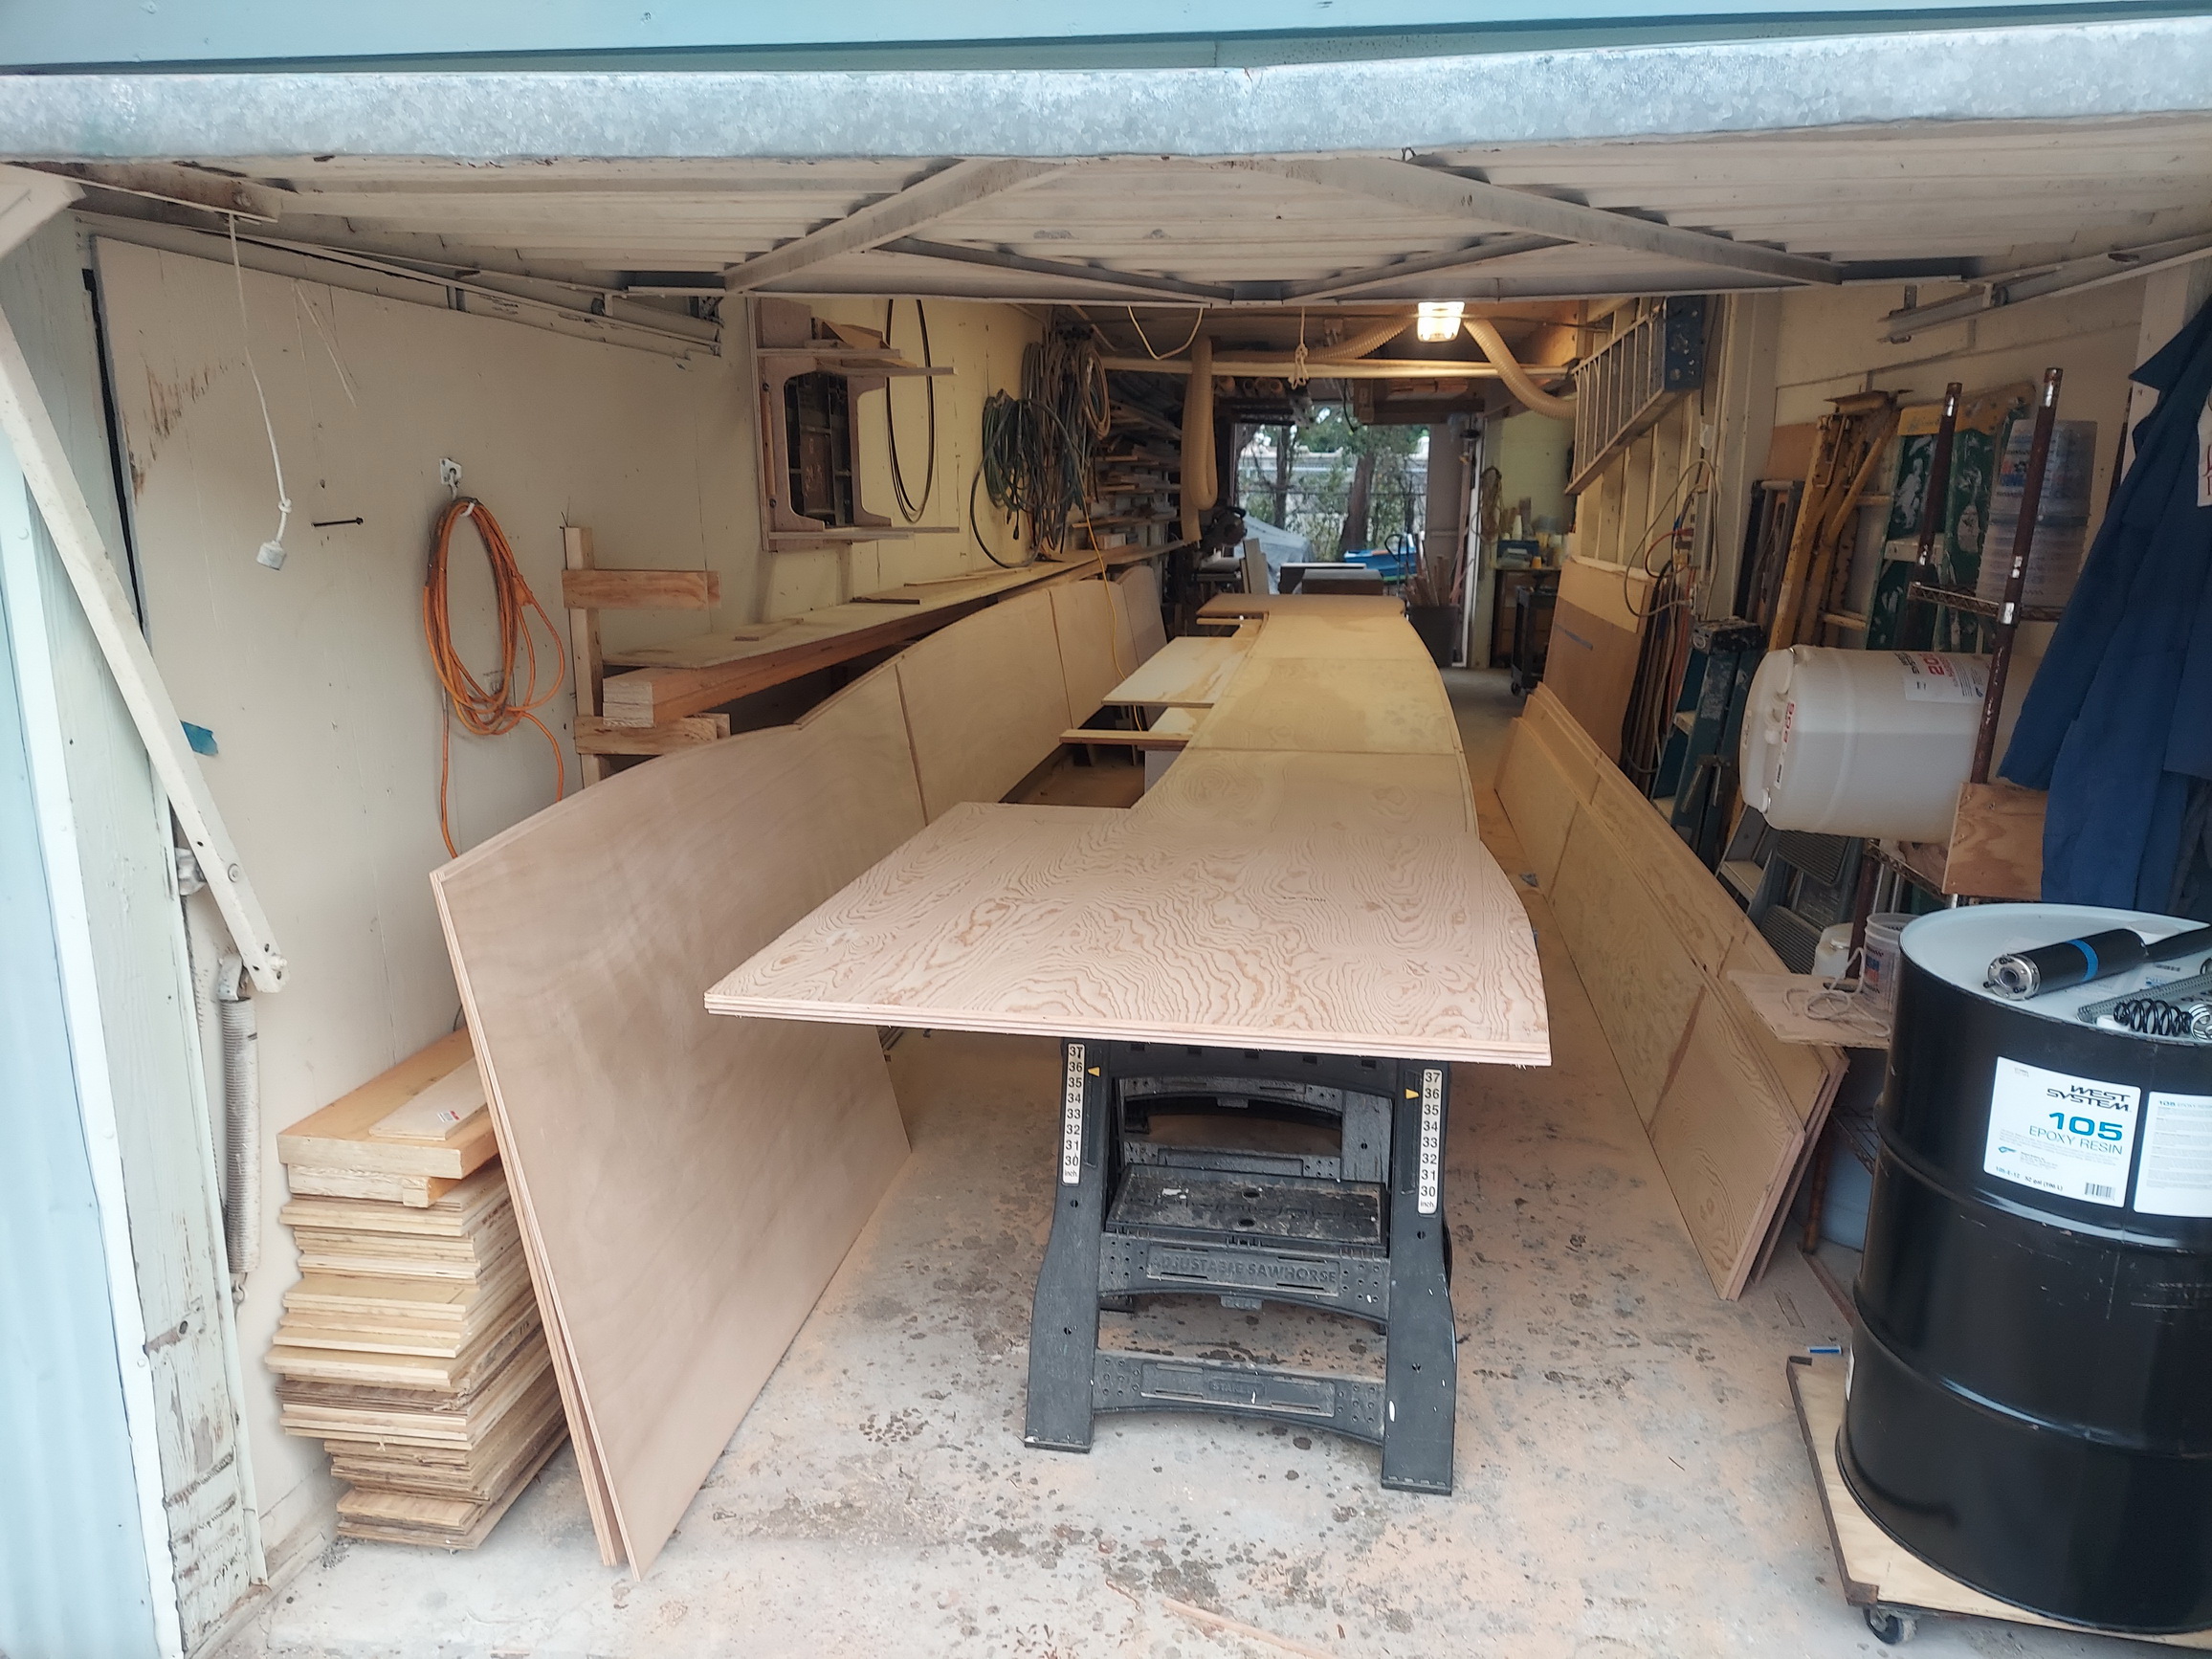
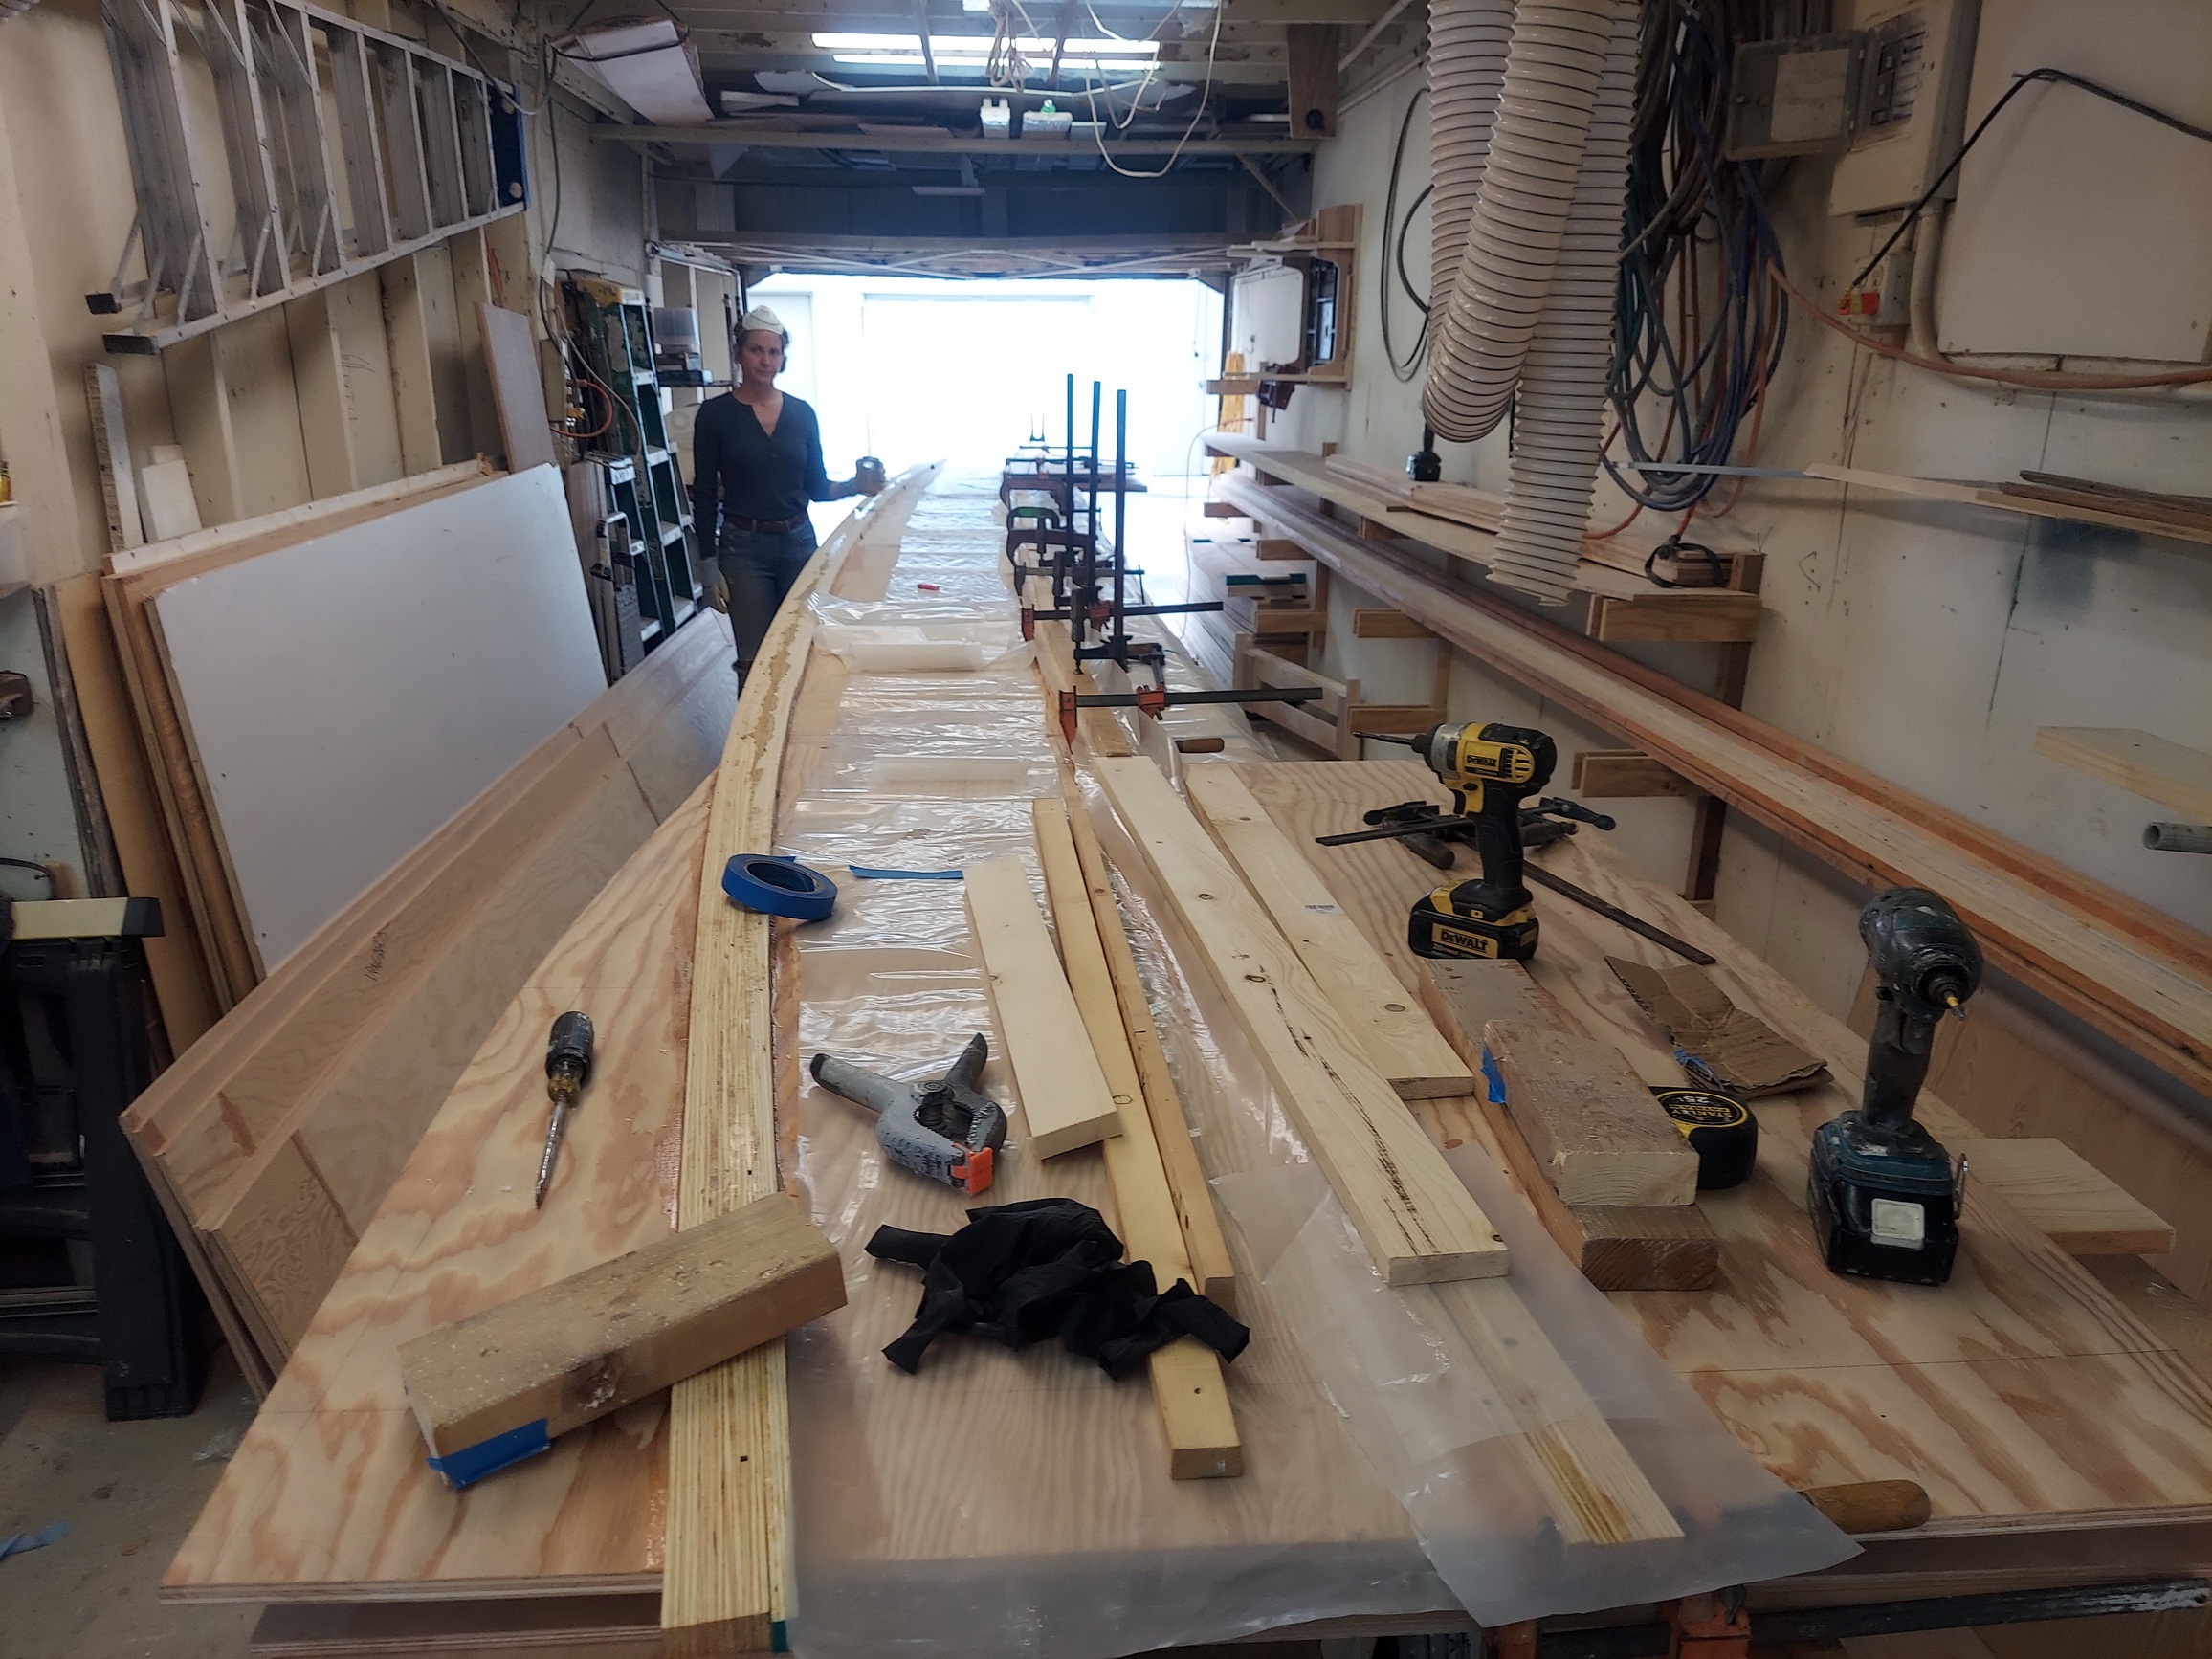
Hi! I’m starting the build of a kurt hughes design day charter cat to be completed spring 2022 in southwest florida. it will be a cylinder molded wood composite build. I’d like to communicate with anyone else who is currently building, or has built a similar boat. i’m a professional boat builder, having built and worked on several of kurts designs.
couple of questions:
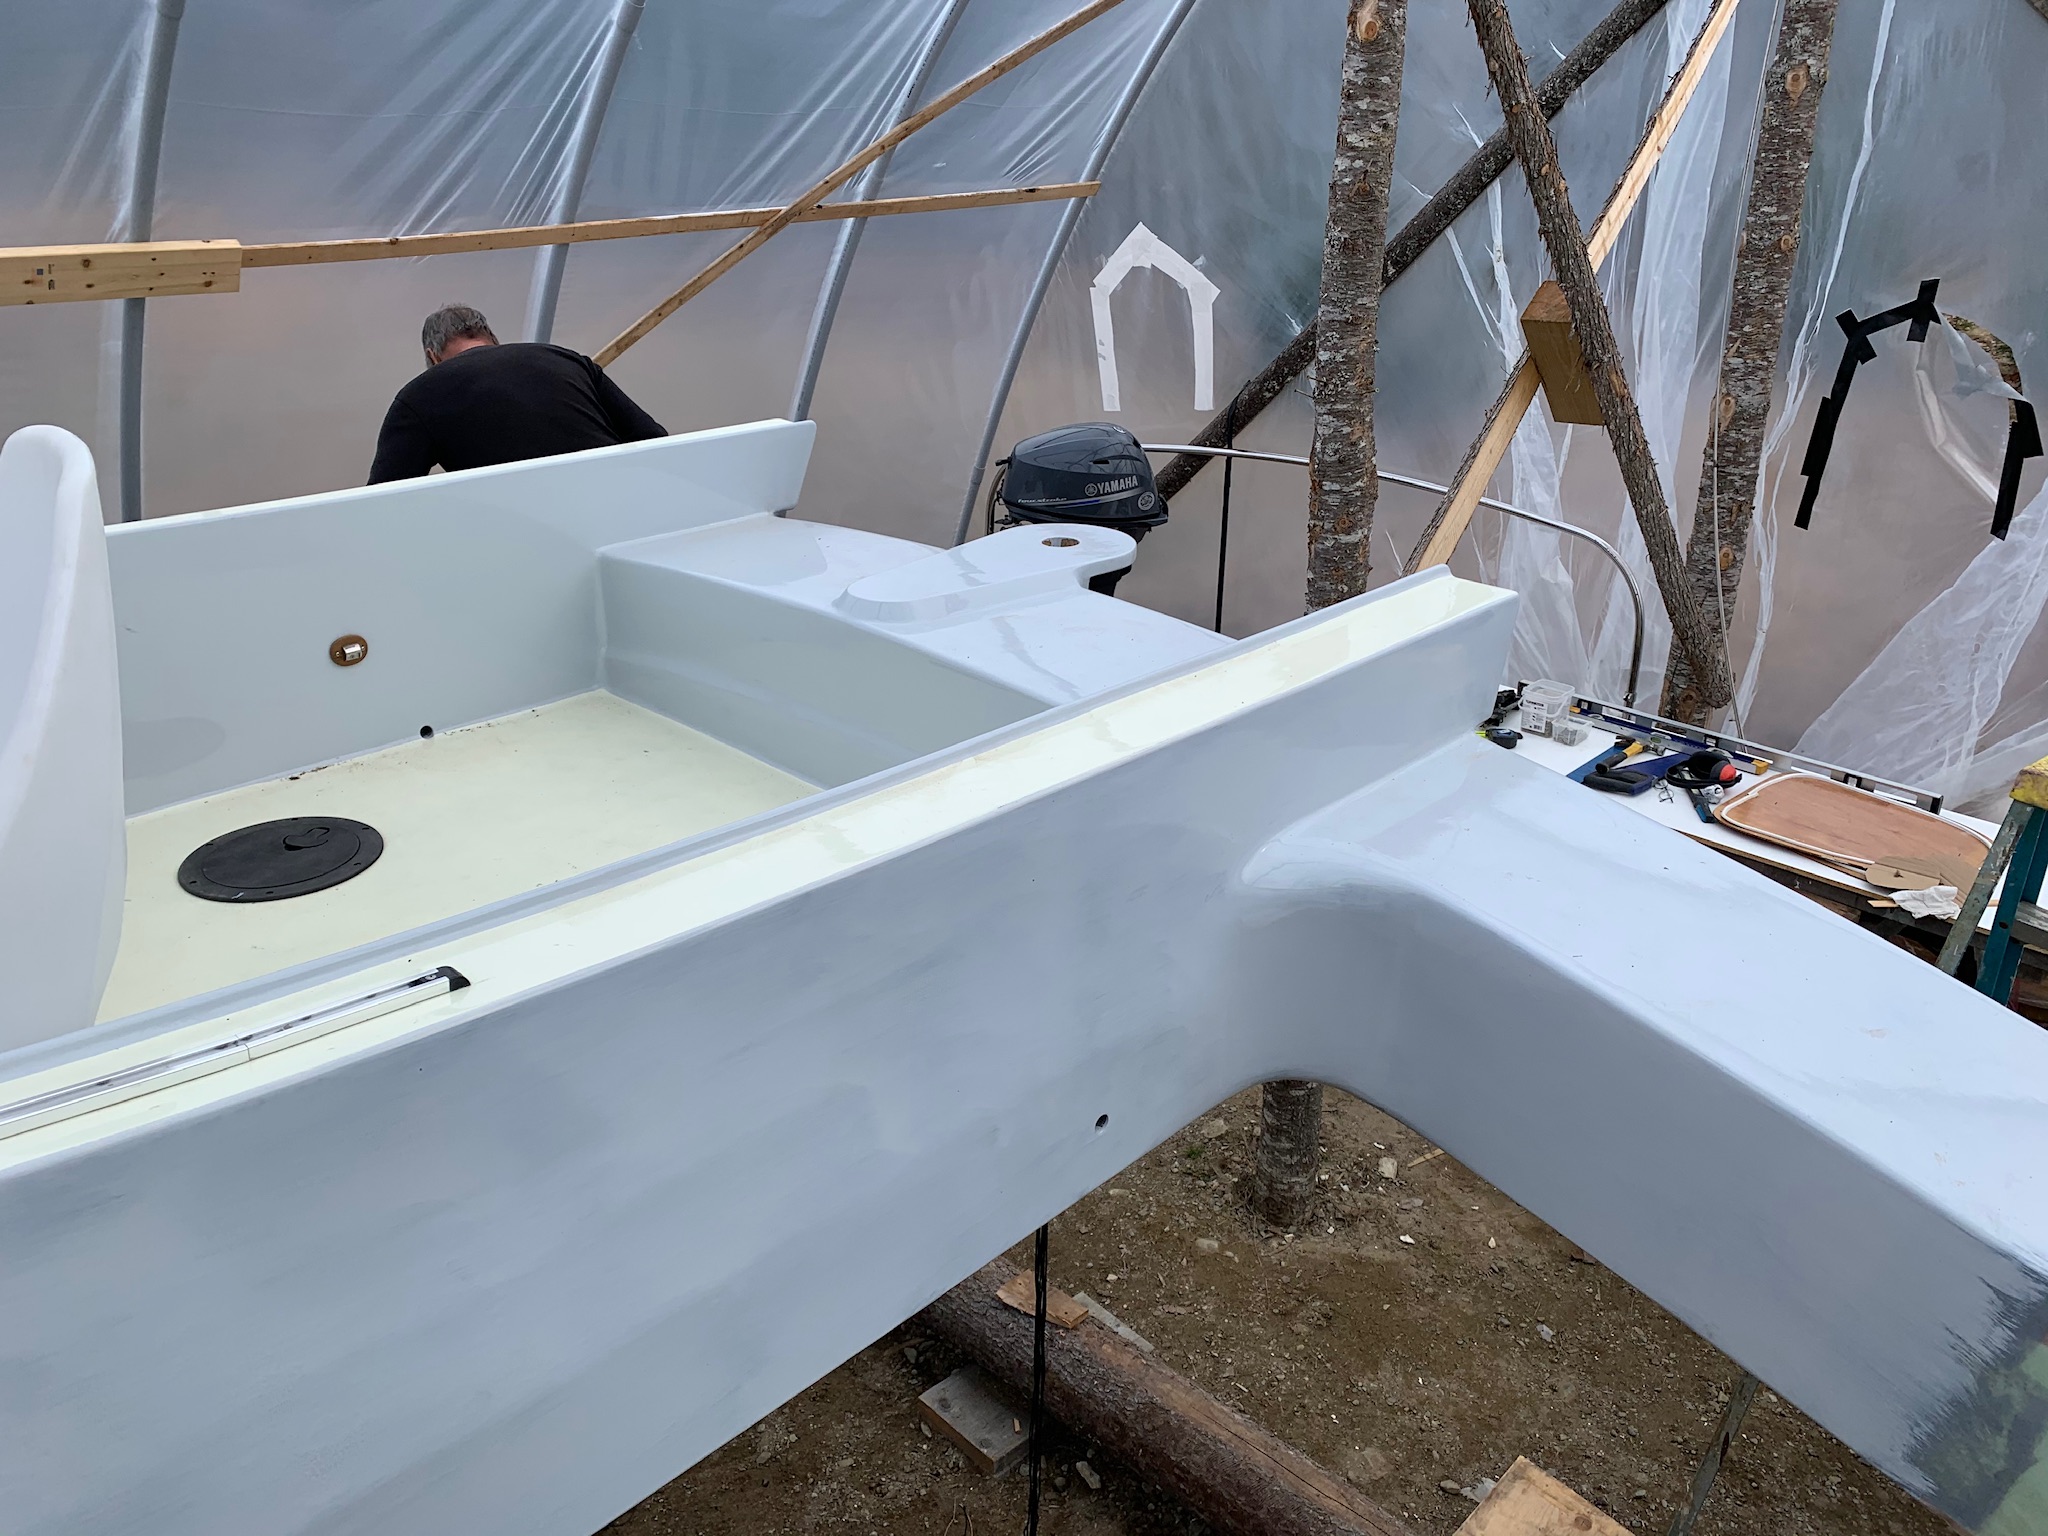
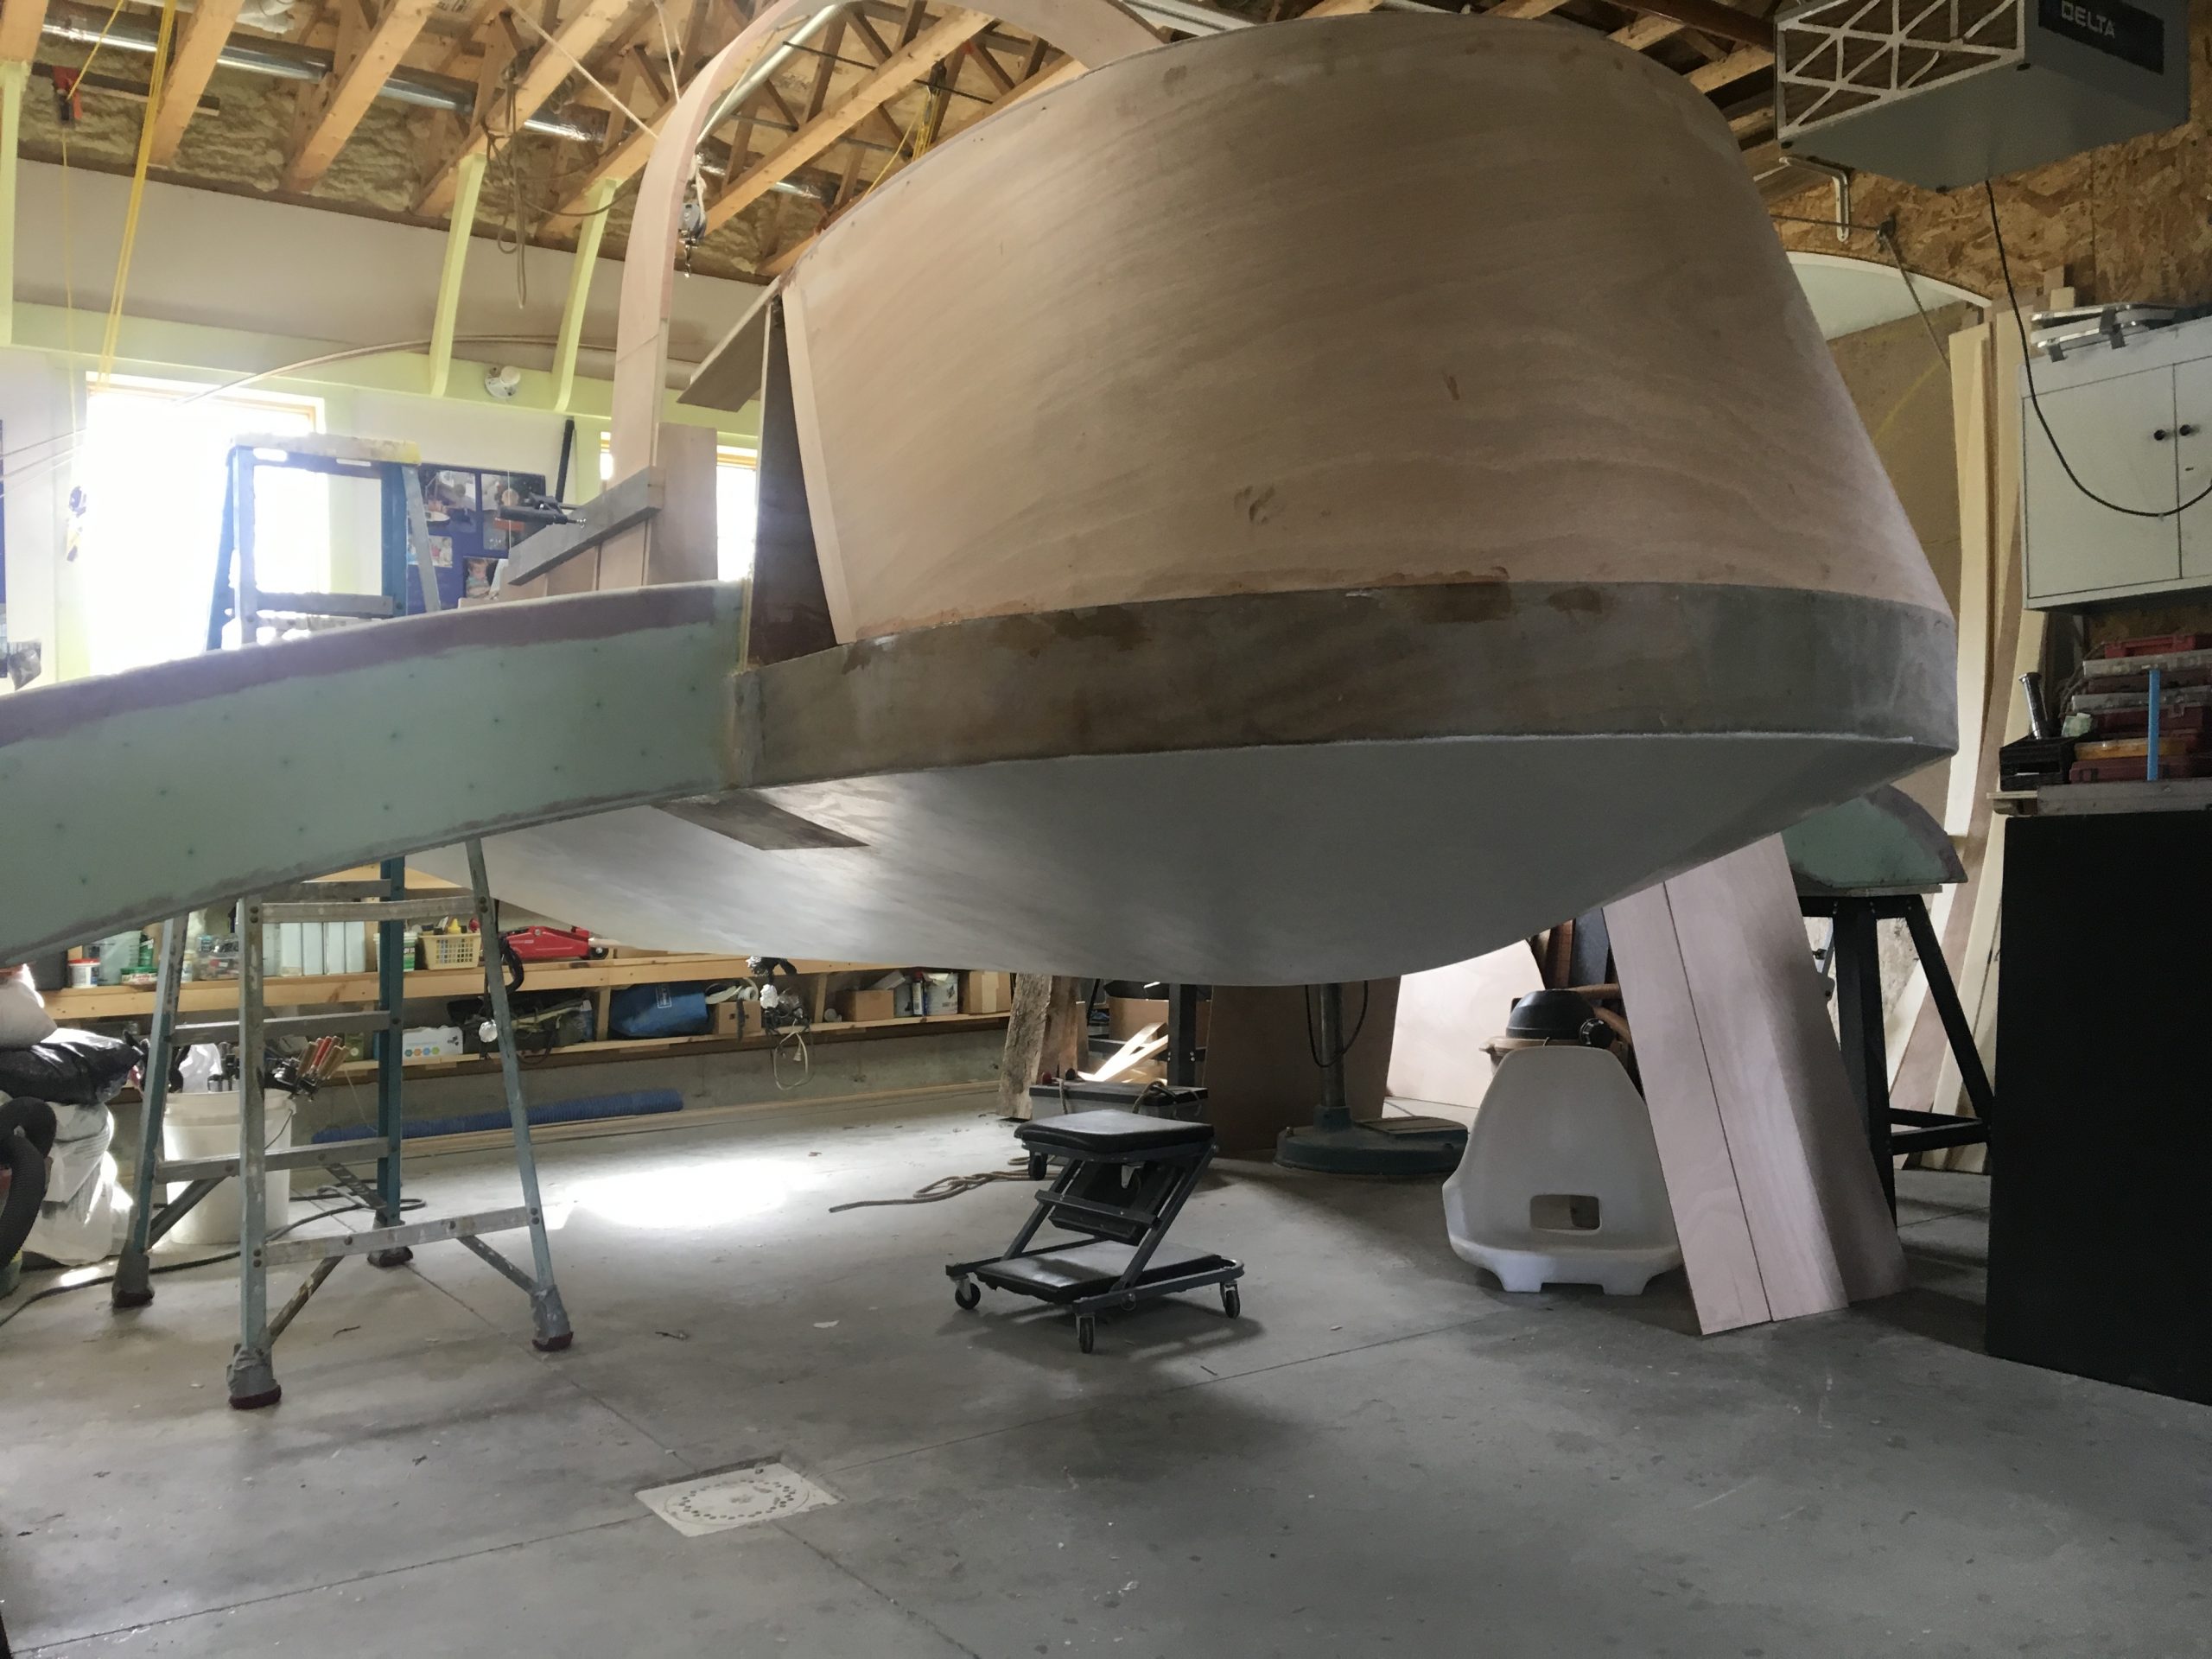
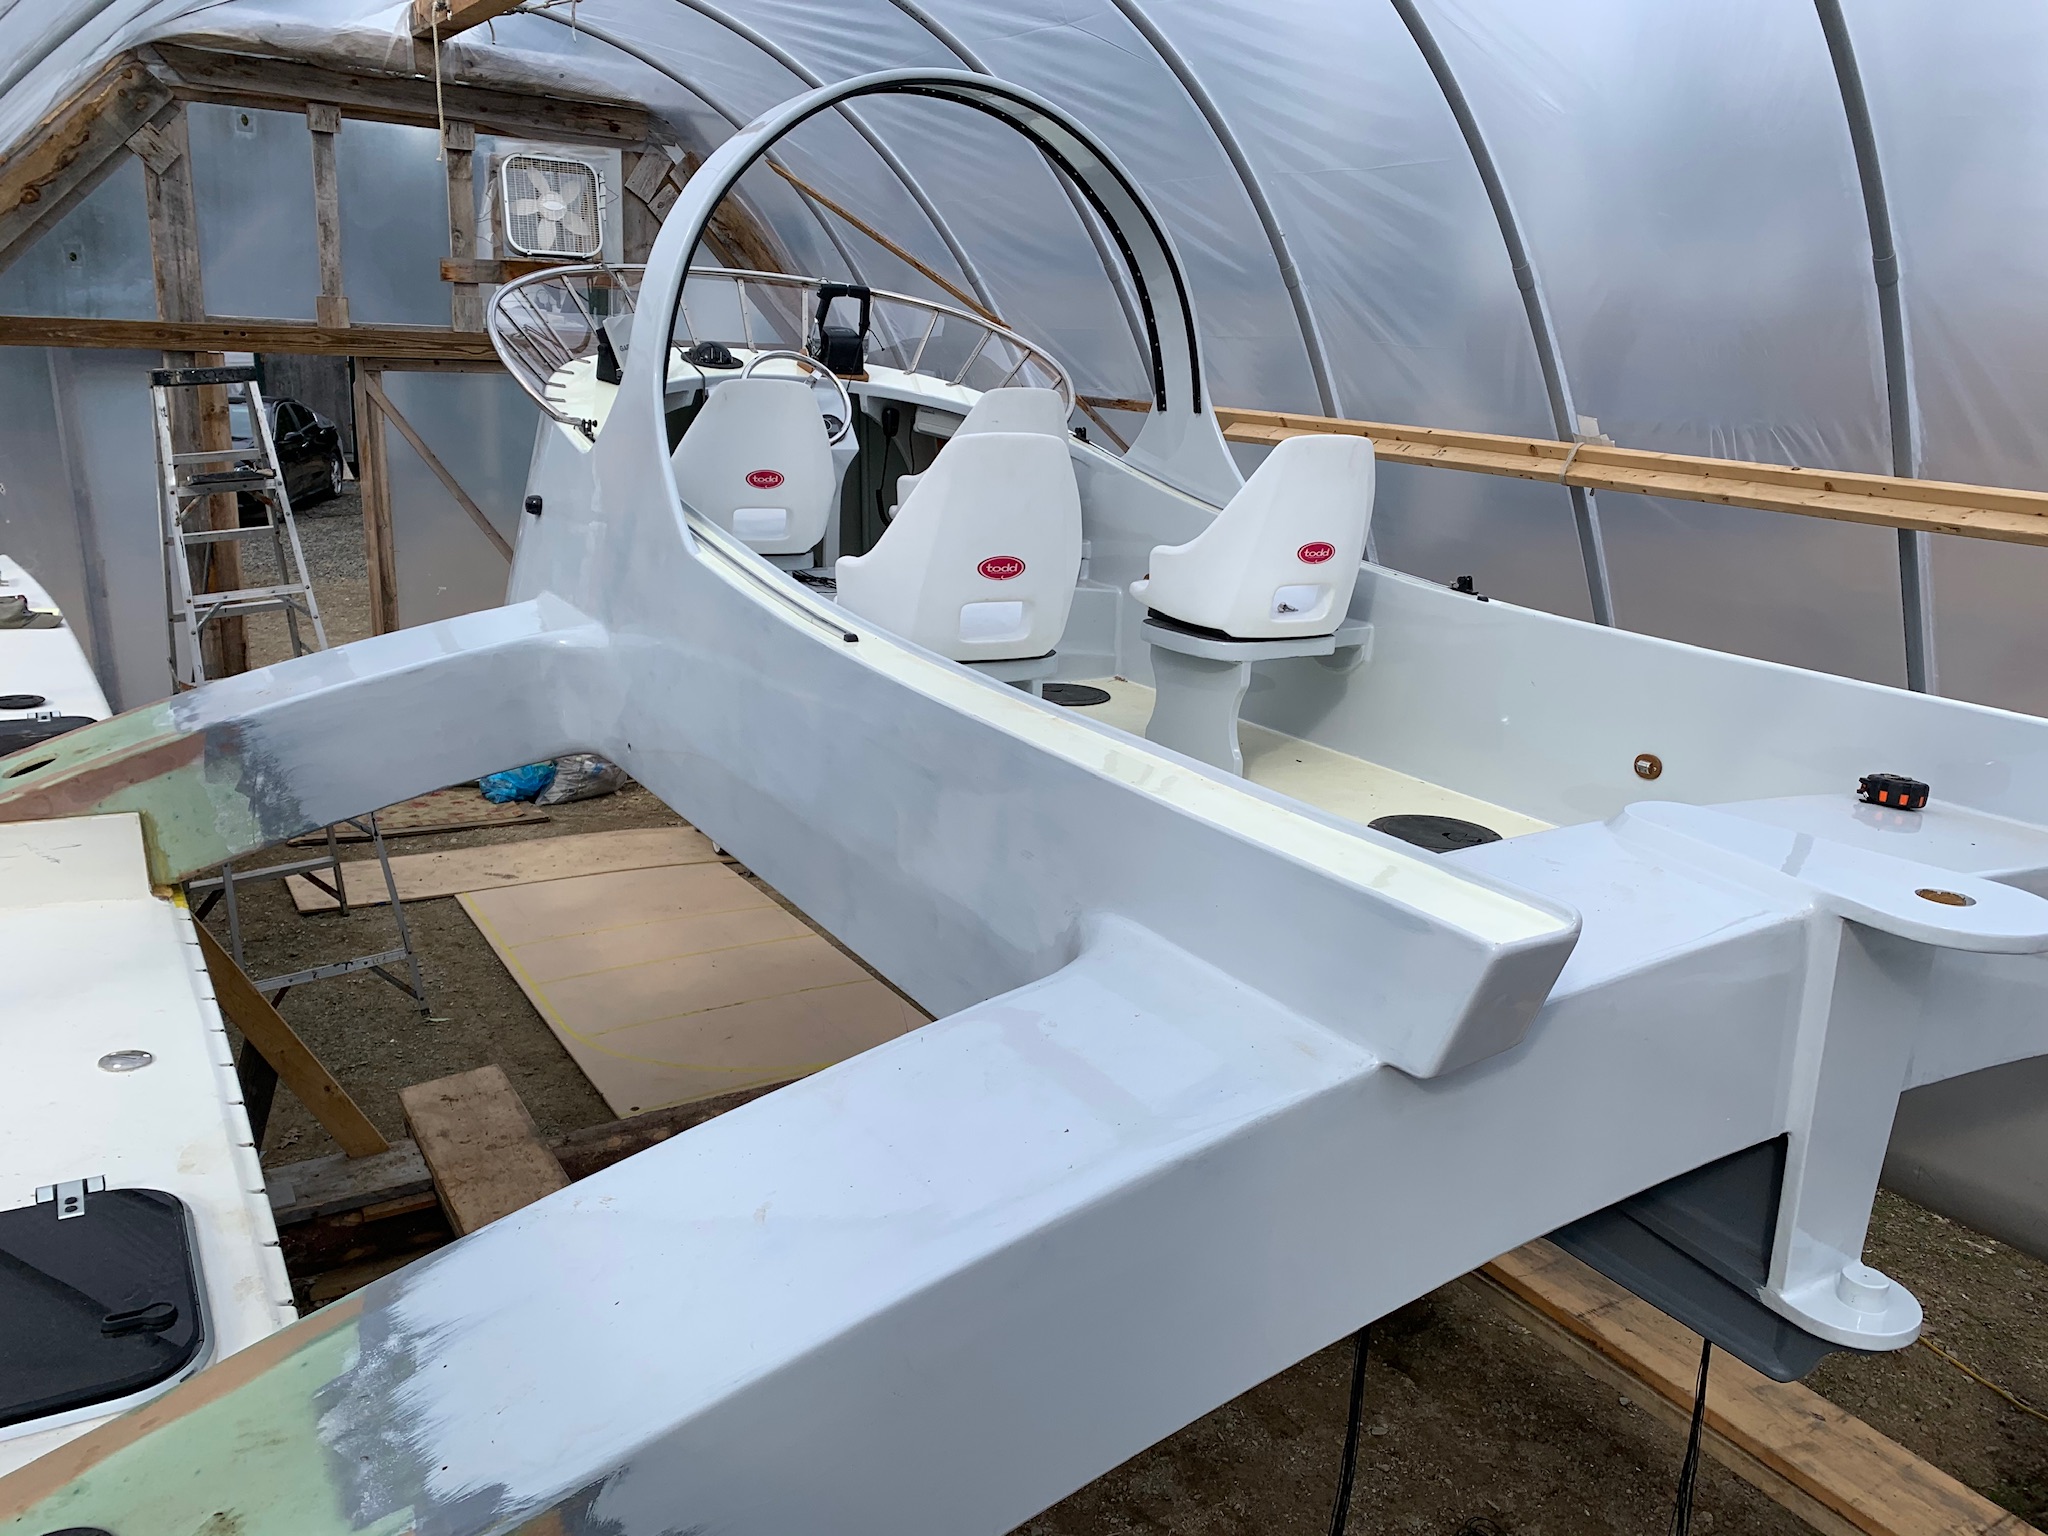
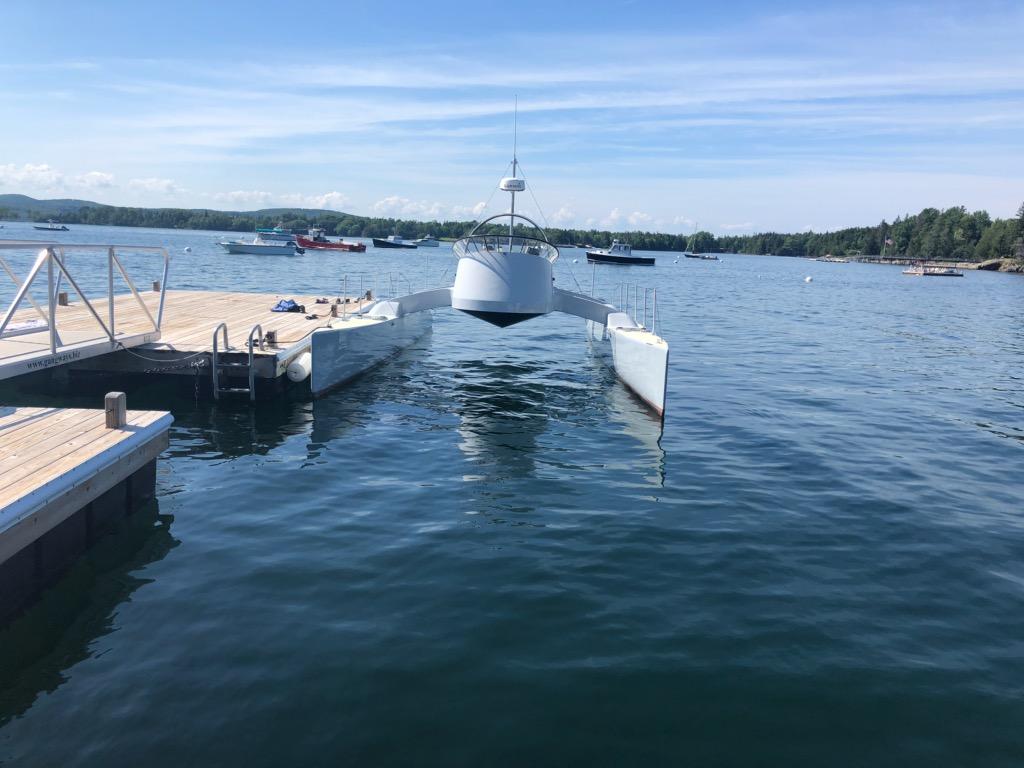
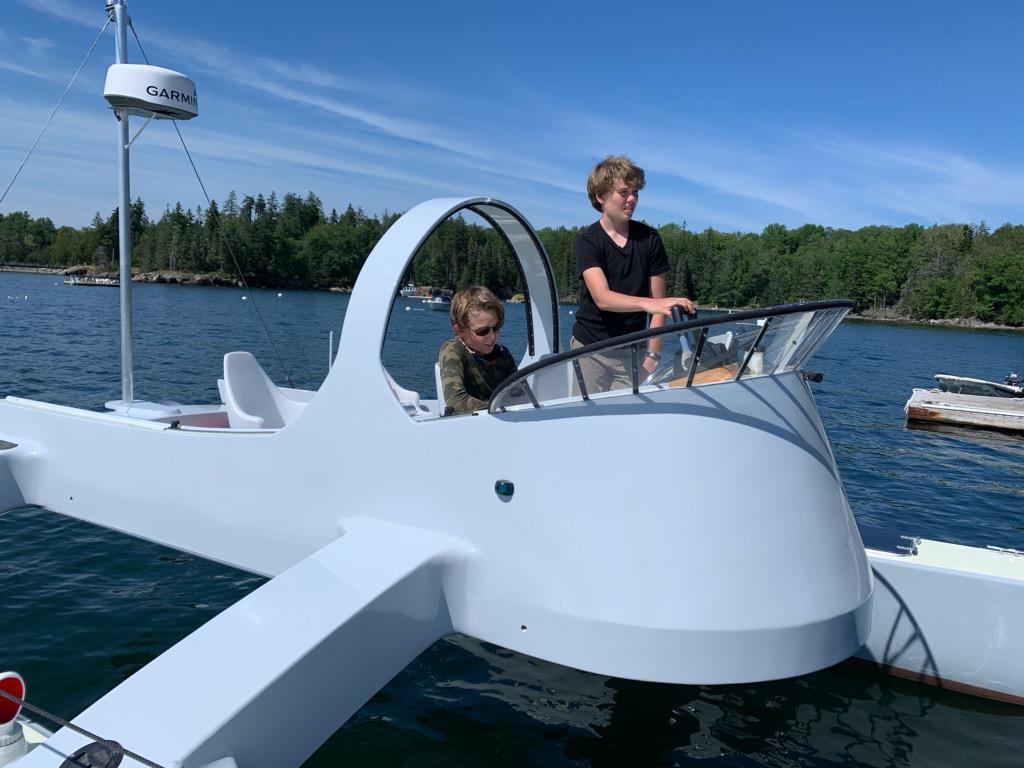
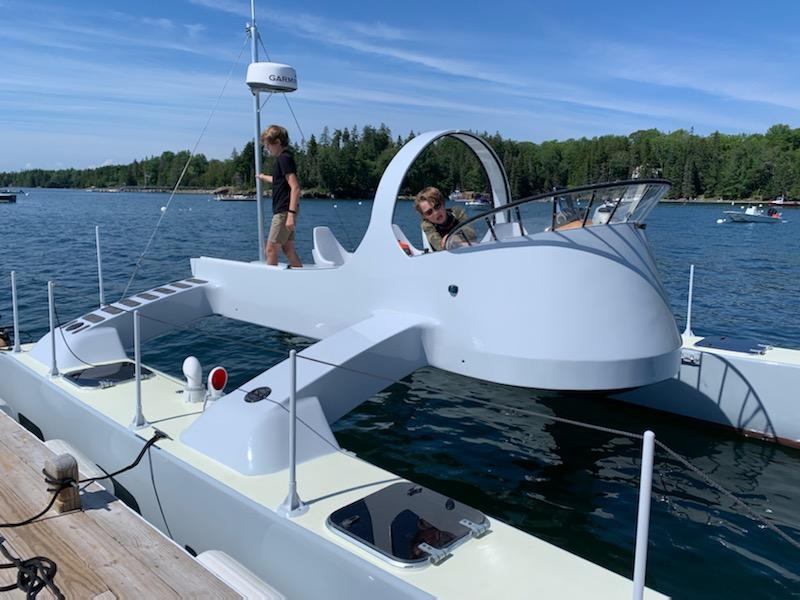
At the end of 2018 I posted a power cat hull build. Upon completion of the two hulls, they were picked up by the owners and taken home to Maine to build the crossbeams and cockpit, as well as fit engines, electrical, etc. I’m happy to report that the resulting boat looks spectacular, and the owner/builders say that the shakedown cruise went well, with a smooth dry 20 knots. stock props.
here is the link to the original post: https://multihullblog.com/building-power-cat-hulls/ and here is the link to the design: http://multihulldesigns.com/designs_stock/28cat.html


From fish expo. Net systems for multihull nets. I used on Geko more than 20 years ago. I prefer these knotless nets in any situation where walking barefoot is not done.
They are experienced with catamarans and can set up the edges for a perimeter line. Ask for Xzalivar.

Ten years ago, most visqueen used to be of fairly high quality and it wasn’t hard to walk into home depot and walk out with a roll of plastic good enough for bagging. But at some point cheap, porous, recycled visqueen took over the market, which is fine for most uses but ridiculously bad for vacuum. Good polyethylene sheeting will be somewhat transparent, and smooth texture. I recently ordered a roll of Xpose Safety 4.5 mil through amazon, and it was inexpensive, and excellent. i bagged 7′ x 18′ curved foam roof panels on a 3cfm vac pump and got a nice hard vacuum with not much attention to detail. https://www.amazon.com/gp/product/B07PBXHWFB/ref=ppx_od_dt_b_asin_title_s00?ie=UTF8&psc=1