For a few decades now I have considered rapid composite hull building construction to be the holy grail of boatbuilding. I published and presented a technical paper on this topic at the 1992 Marine Applications of Composites conference. I built the hulls for my Formula 40 trimaran using the same techniques. A few other catamarans have been built using these techniques. I never have had time to properly write this up as a manual.
I’m still not sure that there is any need for rapid construction any more. I just saw a picture of a race starting line with a row of $3 million to $5 million cats racing. Maybe I really miscalculated the business. Oh well, too late now.
The only other multi designer that I know of working the problem is Kelsall with his flat bagging table KSS process. I see an armload of problems with it. Besides, with that process, one still has to torture the laminate into shape, cut darts into it, then add the 0 degree laminate over the darts, still. And fair it.
What if you could instead build a rapid female mold, and bag the exact and final hull in it in one step? Here we go.
Back in the late 80s when I build my trimaran, a couple of the steps were very successful, and two of them, exhausting. Those two I have improved on.
Those are; I coated the inside of the hull with epoxy. Then sanded it smooth. Way too much work. I now recommend using 545 or some other epoxy primer paint instead. The second was that I coved the hull “gutter” with bog, and then sanded it smooth. Even as a 30 something then, it was insanely hard.to do. Now I prefer to fit a piece of cardboard sonotube first. Then once it is fit properly, bog under it. It creates a rebate on the part that extra protective biaxial roving can be added to.
The first step is to create two cylinder molded reflected hull panels. These can be done with non waterproof glue to save cost. This mold will never go to windward. The insides of the panels are best filled and sanded smooth at the scarphs while the panel is flat like a table.
The two panels are wired together just like the usual CM hull, and a deck flange is added.
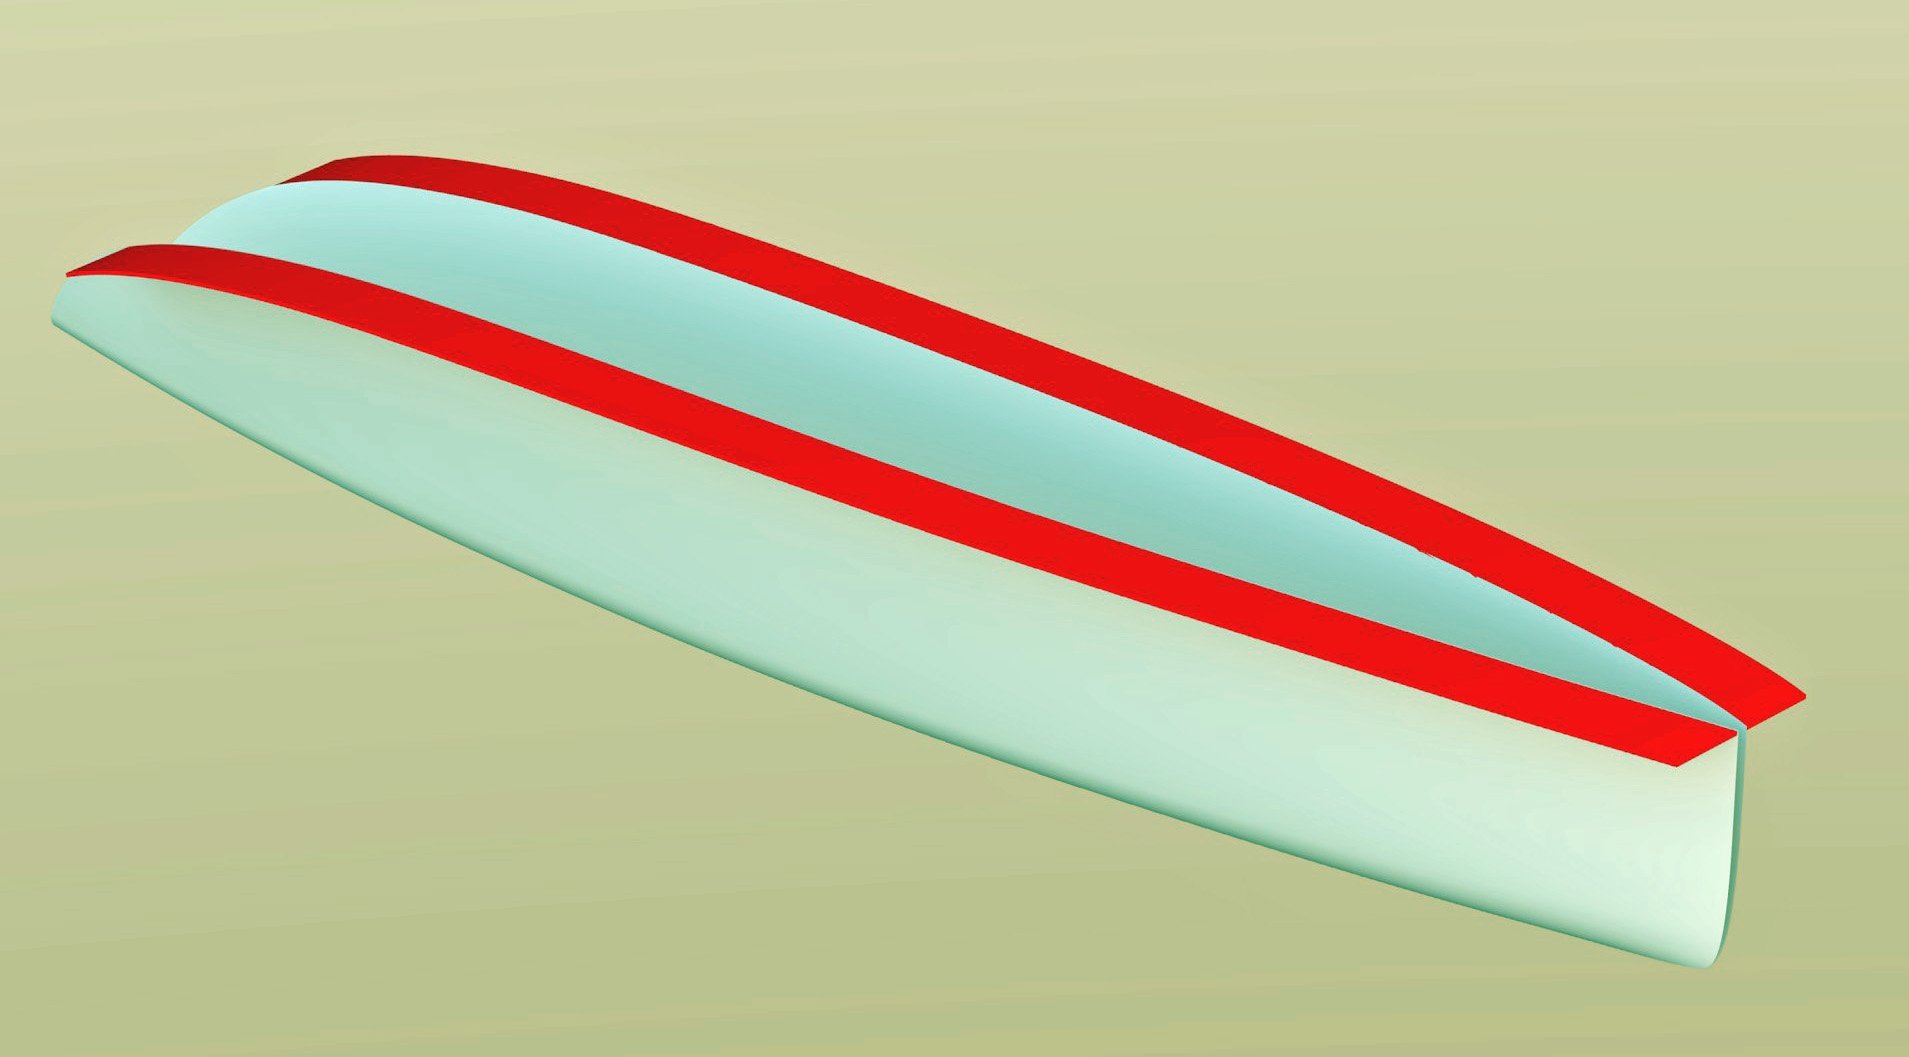
The difference between this and the usual CM is that the bulkheads are added to the outside of the hull instead of the inside. Once the final hull shape is achieved.
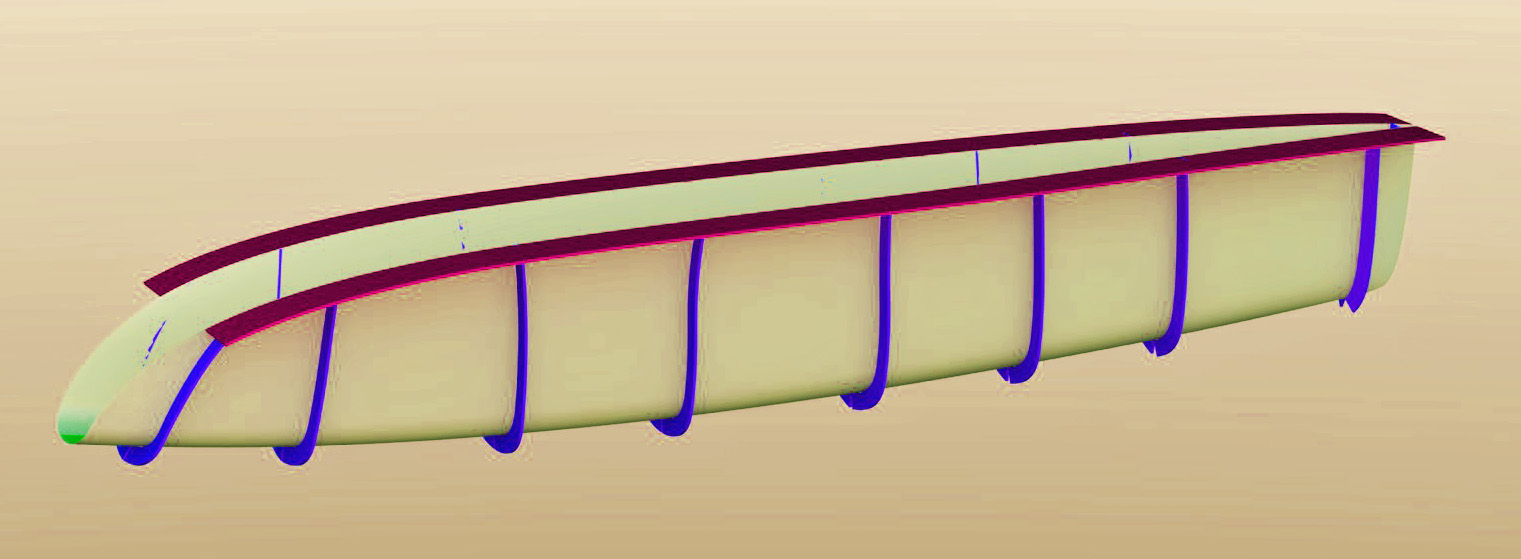
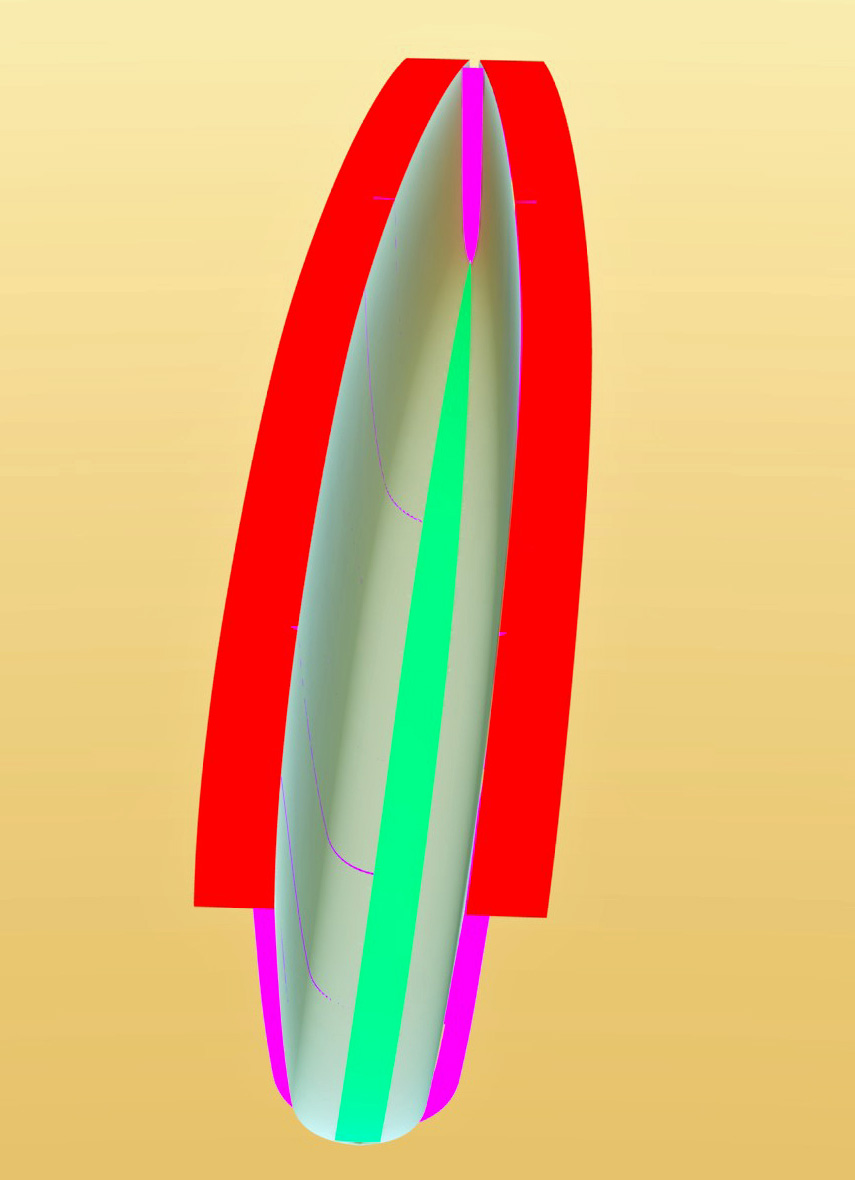
Red is the flange, purple, the bulkheads, and green the cardboard sono gutter.
The real goal here is half molds as it’s far easier to layup the flatter sides.
Making the CM mold more durable:
1- FloCoat, sand and polish the inner surface on a flat table prior to forming.
2- Slot the bulkheads to allow stringers to be inserted from the end and bonded to the floating (self-faired) mold skin. This should allow the skin to be relatively thinner while becoming sturdy enough to not distort while vacuum infusing and pulling repeated parts.
For some reason it is harder to bend concave than convex.(Translation: You can bend easier over male mold than push in a female mold even for the same shape and radius).
Metals are a science (diemakers used to be paid well) and are homogenuous. I can only imagine the pain with foam!
would be true for any female mold. the core manufacturers have tricks for that. and vacuum helps.