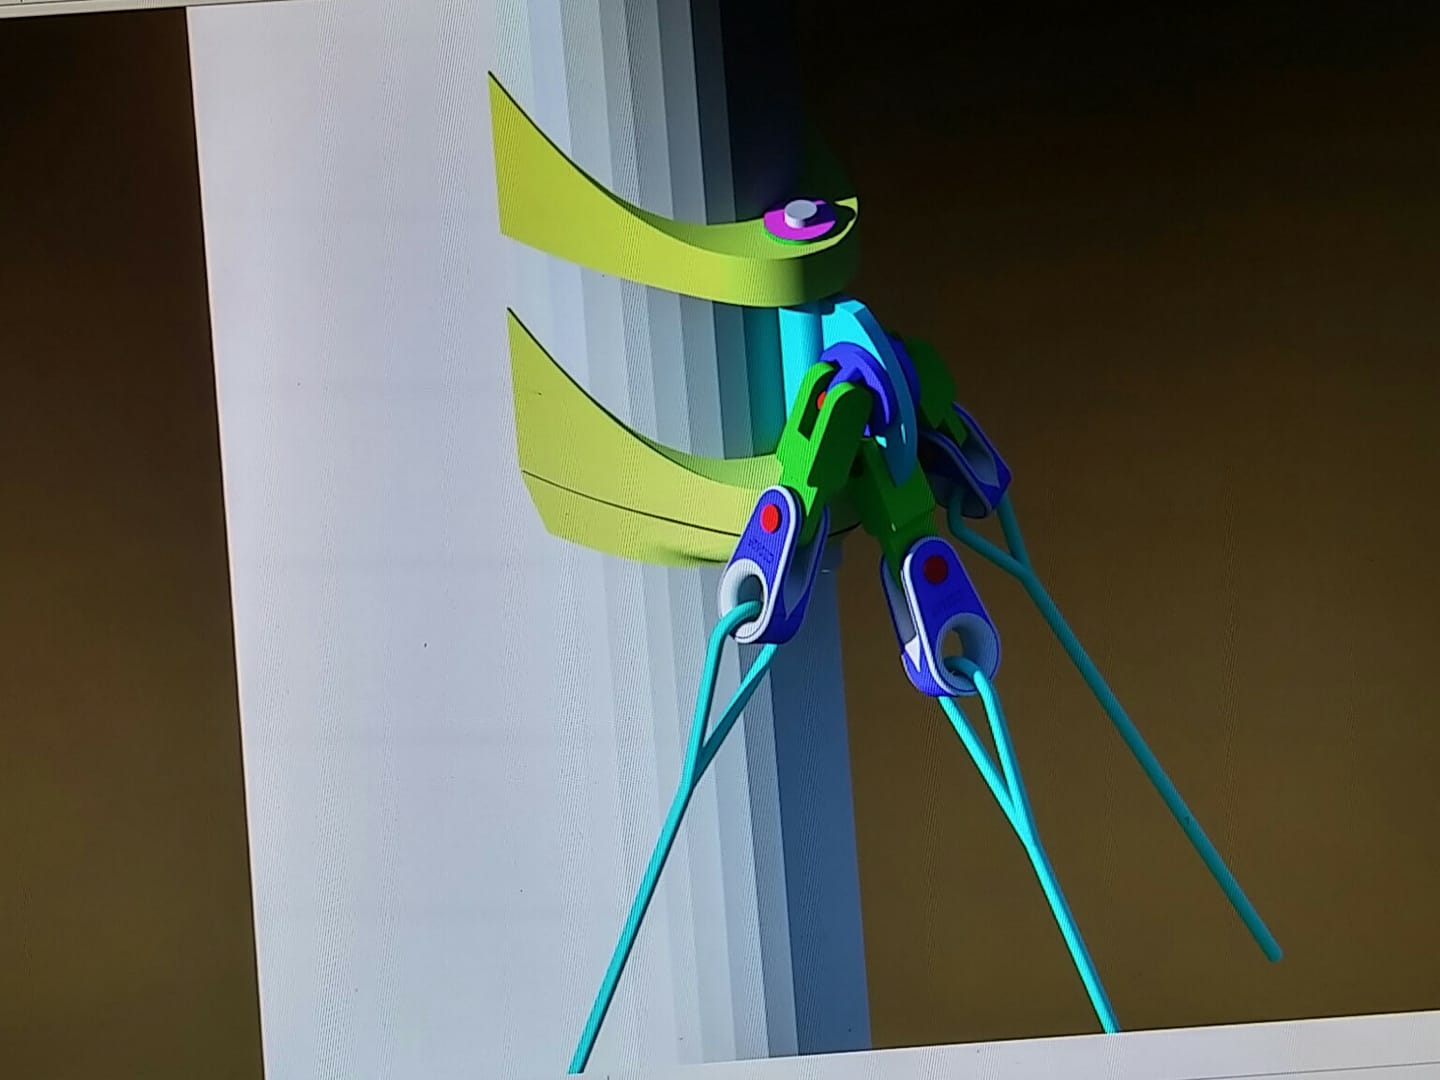
I’m coming up with a few options for rotating wingmast hounds.
First with padeyes for the shrouds. First run at 200 degree (100 degrees each way) wing mast solution, with Colligo fork fittings. Lime green is toggles and blue is SS padeyes.
Composite foundations (yellow). Basically the whole lot stays in one place, and the mast swings like a door behind it.
It should have much less wear and chafe on the composite stays.
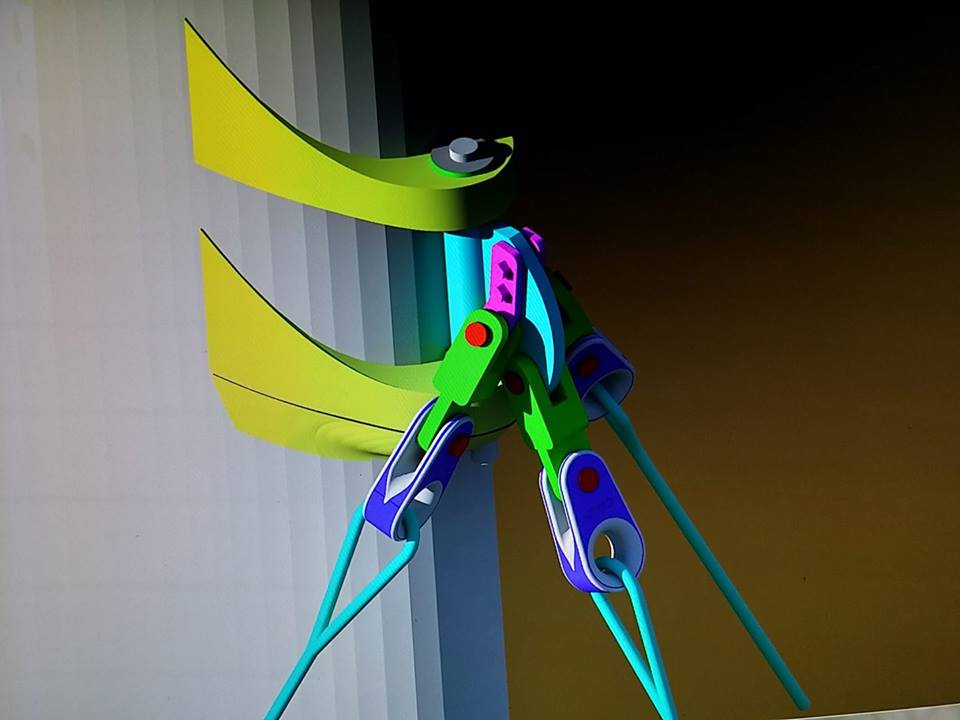
Now with tangs instead of padeyes on the rotating bit. I do have great respect for the opinions of the experienced sea dogs on the last post. I have also have been working this for a few decades. Keep in mind, 99% of all rigging out there is terminated with toggles. We shouldn’t just abandon toggles for purity. In my experience, toggles are pretty good at aligning to the load. The old batwings would chew up toggles, I admit. Pure synthetic would be wonderful, but not quite there. I do have one possible idea on that. Soon as I can model it. Too many deadlines here.
Luke Burritt did something like what you describe on the carrier for “Felix the cat see the post for a soft mast hound to my eyes the bending radius was a bit too small to ensure the kind of longevity needed for a cruising boat. I designed one with a Lehrer bending radius that resembles the hawsepipe you describe but it involved cutting 3 3 or4” holes in the mast to accomadate larger bell mouth bushings that exit the mast. I’d be elated to machine one out of aluminum to install in a wood epoxy or carbon mast but would need to collaborate with a designer like Kurt to work out reinforcing the mast to allow for larger openings in the mast. Still there would be some point loads and possible line chafe that would warrant bi annual replacement for the strops. Would be a fun project though.
How about a built up hawse pipe on the front of the mast as shown centered on the bow of this carrier (https://s3.amazonaws.com/WJ-www.aws.org/images/WJ_2017_06_cover_lg.jpg)
Use 3 short “stay extensions”, each a short piece of line with an eye on each end. Run them through the hole in the front of the mast, down and out through halyard exits (https://www.westmarine.com/buy/schaefer–halyard-exit-plates–P002_060_007_522).
Terminate each of them on the outside of the mast using Colligo cheeky tank mast connectors.
The stay extensions would be relatively cheap, and easy to inspect and replace.
I’ll be interested in this development, and also the new wing mast. I’d be very interested in a shorter chord wingmast, as used by Goldcoast yachts. I can’t get myself comfortable with the 3:1 wingmasts for cruising. I just keep hearing about the drive of the mast, which isn’t good to have at anchor.
Any interest in designing a 2:1 rotating mast? I’ll be the guinea pig…
cheers kurt.
I sent you some photos. launching sooner than I’d like, but moving south soon. we’ll finish there.
For the light blue rotating tang: if you trust a weld to weld the round bar to the flat plate, why not weld on a secondary tang for the side tangs as well (instead of a bolted s.s. padeye).
But in all s.s. not aluminum (welded aluminum is scary for fatigue IMO)
Hello Kurt, what do you think about the Colligo double cheeky tang for rotating wing masts? It is a simple solution. It should still allow the mast to rotate easily. I saw it at the METS at the colligo booth a few years ago and liked it very much.
A loop goes forward from both cheeky tangs to the forward stay
I can’t upload a picture, so here’s the link to my simple 3D drawing.
http://www.nyker.nl/Double%20cheeky%20tang.JPG
When I setup Alien’s mast over 15 (or 20???) years ago I removed all that stuff by running the synthetic stays directly to the mast and let the slack in the stays deal with the rotation. No moving parts. Lowest possible weight. By directly I mean I built a carbon backing plate (a block about 3.5″ long) that’s inside the mast cut to the angle of the forestay and glued it in place. Trailer eye was cleaned up and goosed up to glue it in place.
The stays are ‘tied’ by running the loop through the large eye bolt and your done. Not really done you need to remove and reset them every season so you can see if the stay lines aren’t chafing and distribute to a newish line segment. It hasn’t been a problem but you’re ‘whispering in the graveyard’ if you don’t check it at least once a year.
All that metalwork will let you down. Do it the same way as the AC45s do much simpler. Peter